Hi everyone! In this post I share with you links to all the posts and videos I have created in the previous month, this is everything from July. Some of the events/quests listed may no longer be available.
Sorry for being so quiet recently, to be honest real life has been a bit of a struggle so I am trying to take more time for myself which means I am posting less content and replies may be slower than usual, sorry about that but I will get back to you as quickly as I can!
The Family Furnishings Live Event is back from the 27th July to unlock new furnishing items and if you complete the whole event in the time limit you unlock the family home template and hatchback car! This event is only here for 9 days and the aim of it is to collect enough arts and crafts items from the arts and crafts stations (found in the event tab of buy mode) to unlock all the items in this event
NOTE: if you did another Live Event then you will find your arts and crafts stations in your inventory (or in the house you left them at) you will only be able to use the candle ones until you unlock the other stations in this event
Can’t find your arts and crafts stations?Click on the craft station in your event tab to get the option to find your station, it will take you to the house where your stations can be found!
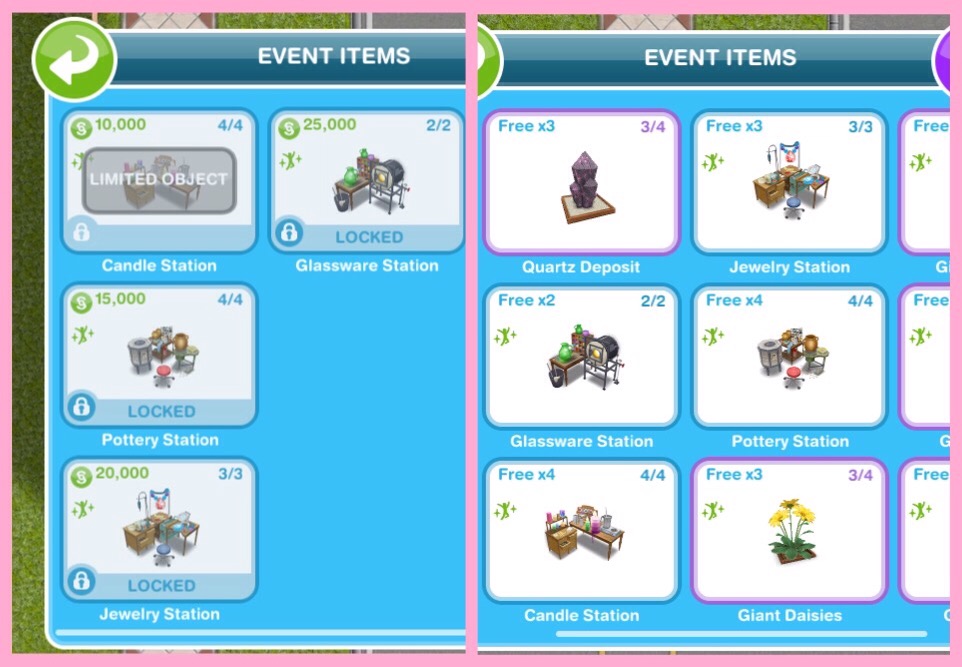
Place a crafting station (find the candle station in the events tab of buy mode (or your inventory)- you can only buy 4)
Make some arts and crafts items (click on the candle station to make)- 23 seconds
This takes you to the prize progress tab (you can get to it by clicking on the neon light button in the corner of the screen)
Here you will see you have collected enough items to unlock the Just Peachy pack! When you unlock each pack, before the items are available in your home store you need to purchase them with the arts and crafts items you make- this goal is coming up!
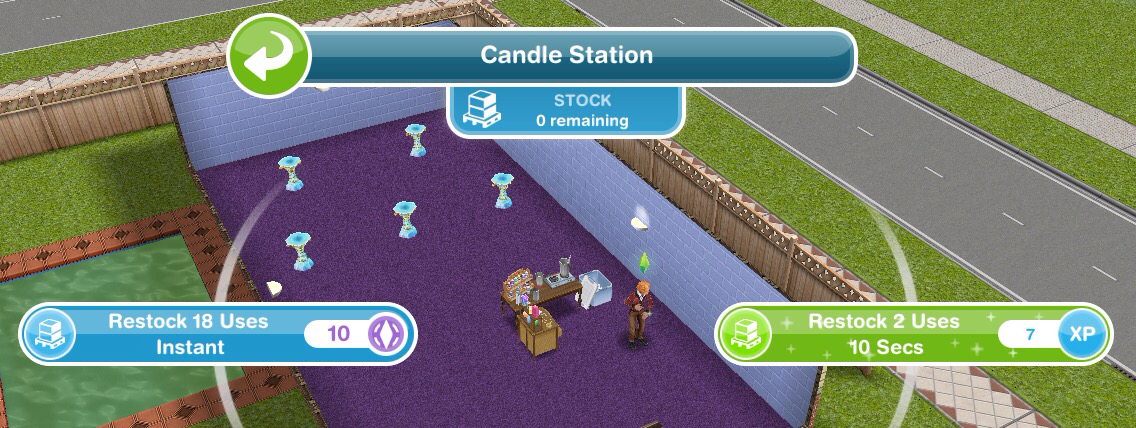
Restock a crafting station (when the stock runs out you will have to restock before you can make anymore arts and crafts items)- You can restock instantly for 18 uses for 10SP or restock for 2 uses which will take 10 seconds this time
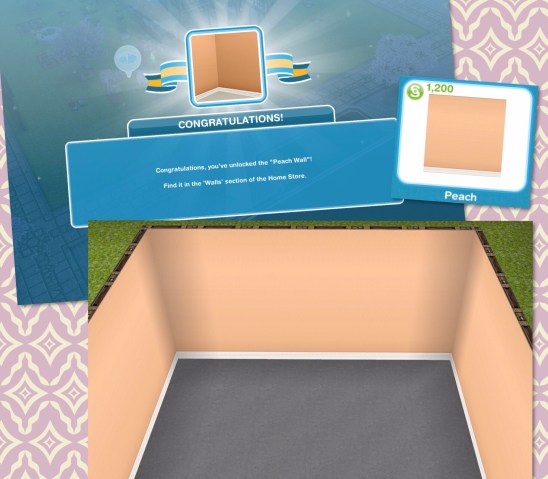
Buy the Just Peachy- Peach Wall pack (click on the neon light event button, scroll down and click purchase- this will cost you 50 candles)
Use a coin flower patch (buy the coin flower patch from the event tab and select the spin plant option)
Check the daily goals (click on the drinks event button and find the daily goals tab- claim the ones you can!)
Remember to claim your rewards each day!
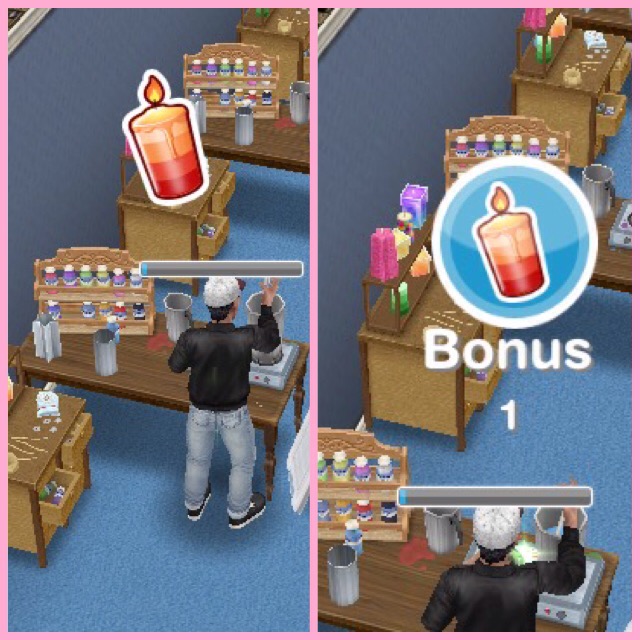
Collect bonuses (while collecting after a certain amount of time you will see the arts and crafts item appear above that sims head, click to collect the bonus item!)
Continue collecting arts and crafts items- this is the last step but the event is not over, keep collecting the arts and crafts to unlock everything!
If you want to speed up a collecting arts and crafts action it will cost you SPs, you will get the bonus arts and craft items as well if you speed it up!
Stuck on these tasks? Watch my video here:
Arts and Crafts Stations
Candle Station costs:
1st- Free
2nd- S2,000
3rd- S4,000
4th- S10,000
(maximum of 4)
Collect 250 Candles- 2 hours 30 minutes
Collect 360 Candles- 4 hours 30 minutes
Collect 455 Candles- 6 hours 30 minutes
Collect 510 Candles- 8 hours 30 minutes
Pottery Station costs:
1st- S5,000
2nd- S7,500
3rd- S10,000
4th- S15,000
(maximum of 4)
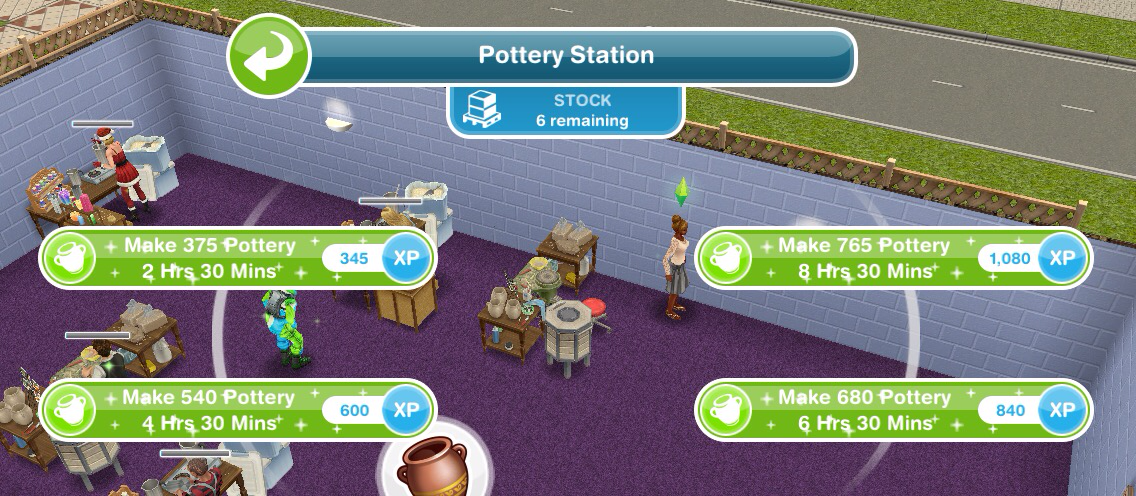
Collect 375 Pottery- 2 hours 30 minutes
Collect 540 Pottery- 4 hours 30 minutes
Collect 680 Pottery- 6 hours 30 minutes
Collect 765 Pottery- 8 hours 30 minutes
Jewelry Station costs:
1st- S7,500
2nd- S15,000
3rd- S20,000
(maximum of 3)
Collect 565 Jewelry- 2 hours 30 minutes
Collect 810 Jewelry- 4 hours 30 minutes
Collect 1025 Jewelry- 6 hours 30 minutes
Collect 1150 Jewelry- 8 hours 30 minutes
Glassware Station costs:
1st- S7,500
2nd- S25,000
(maximum of 2)
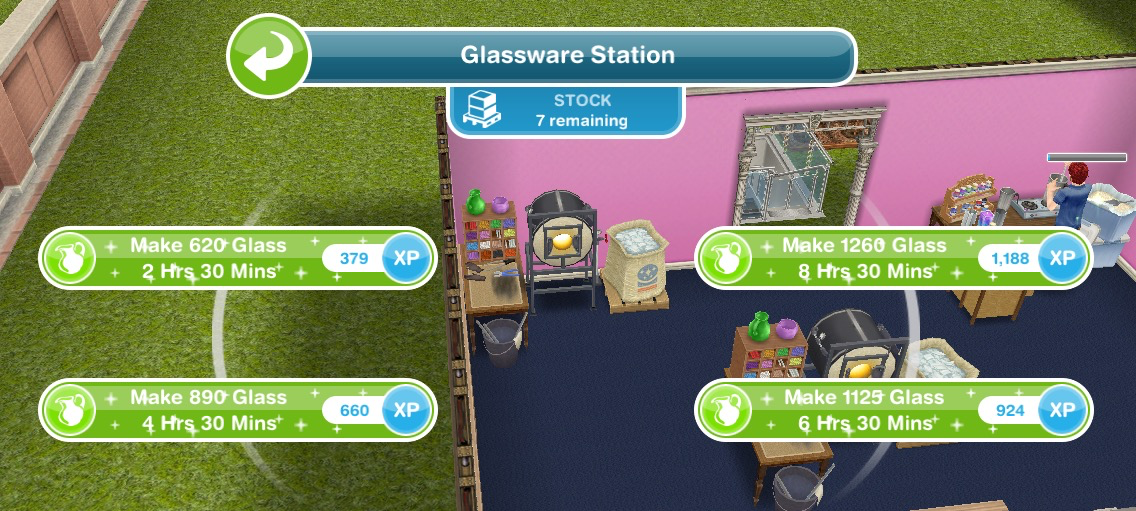
Collect 620 Glass- 2 hours 30 minutes
Collect 890 Glass- 4 hours 30 minutes
Collect 1125 Glass- 6 hours 30 minutes
Collect 1260 Glass- 8 hours 30 minutes
Restocking
Each station (apart from the first candle one) comes with a stock of 7 which means you can use the station 7 times before it needs to be restocked (if you got your stations out of your inventory they will all need restocking first (apart from the first candle one) When you need to restock you will have two options:
Restock 18 uses which happens instantly but will cost you 10SP or
Restock 9 uses which will take you 2 hours 30 minutes but will be free
NOTE:
if you store the station you will lose all the stock so when you place it again you will need to restock
if you cancel making something using a station you will lose that stock so if you had one stock left and then you cancelled that action you would need to restock before you can create anymore arts and crafts items
Your Progress:
Click the neon light event button in the top corner of your game to see your progress
Daily Goals
Check on the first tab every day because if you complete all the daily goals you will get additional constructor coins
NOTE: remember to click CLAIM once you have completed a daily goal to collect the reward and remember to claim your free constructor coins and free items each day!
Prize Progress
The prize progress is how far you have got on this event, the more arts and crafts items you make the more prizes you will unlock
NOTE: the bar at the top of the personal progress tab shows you how close you are to unlocking an item, the more arts and crafts items you collect the more the bar will fill up. Once you have unlocked an item on the bar at the top you will be able to use the arts and crafts items you have collected and constructor coins to purchase that pack which you will then be able to find in the home store.
Prizes:
These are the amounts needed from last time, please let me know if any have changed
1.Just Peachy- Peach Wall– requires 50 candles to buy
Can be found in the walls section, the first one is free then costs S,1200
2.3 Constructor Coins
3.3 Constructor Coins
4.Showcase Chandeliers- Penchant for Pendant Lights and Droplet Chandelier
Penchant for Pendant Lights– requires 750 candles and 5 constructor coins to buy
Can be found in the lighting section, the first one of each is free then the silver costs S72,000 and the black costs 5SP
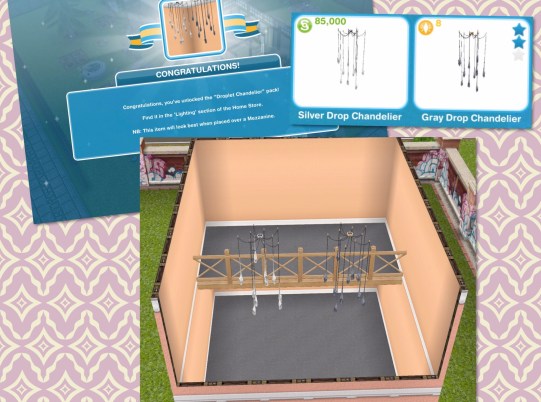
Droplet Chandelier– requires 2,200 candles and 10 constructor coins to buy
Can be found in the lighting section, the first one of each is free then the silver costs S85,000 and the gray costs 8LP
5.Pottery Station
6.4 Constructor Coins
7.4 Constructor Coins
8.Tidy Room, Tidy Mind- Clean Living and Simple and Clean
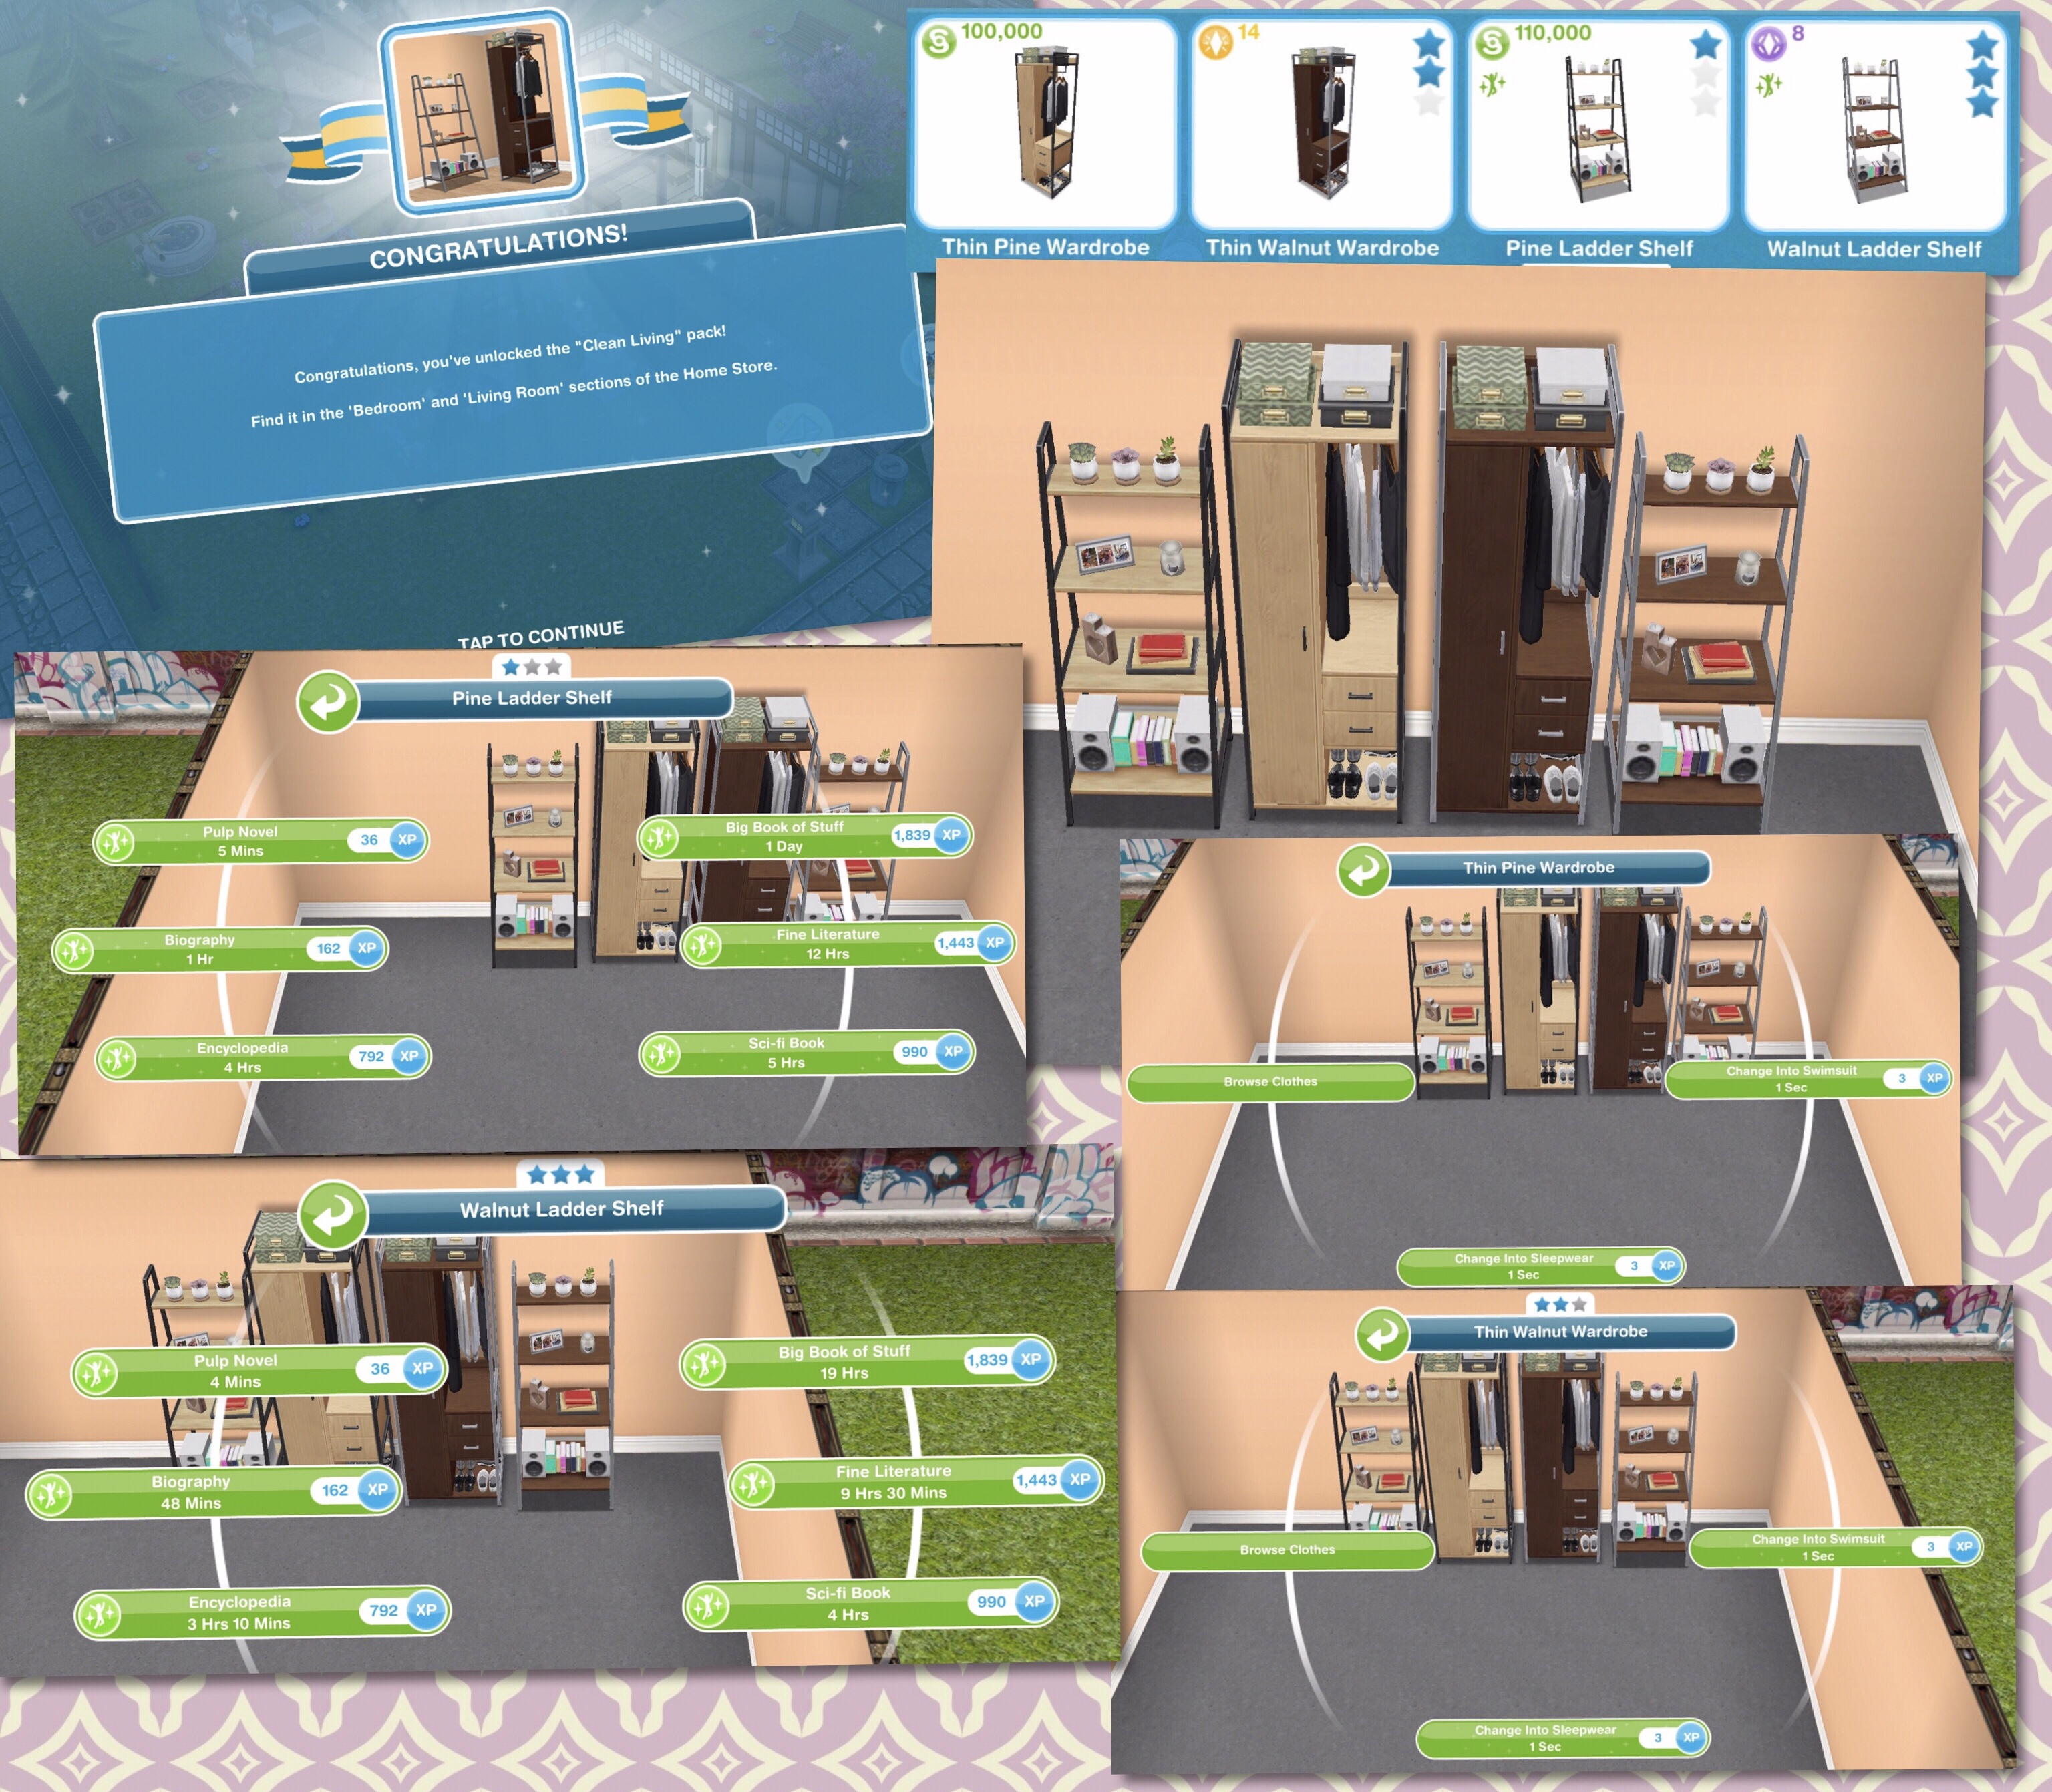
Clean Living– requires 5,800 candles, 3,400 pottery and 35 constructor coins to buy
The thin pine and walnut wardrobes can be found in the bedroom and teen sections, the first one of each is free then the pine costs S100,000 and the walnut costs 14LP
The pine and walnut ladder bookcase shelves can be found in the living room and teen sections, the first one of each is free then the pine costs S110,000 and the walnut costs 8SP
Simple and Clean-requires 8,700 candles, 5,100 pottery and 55 constructor coins to buy
The stout red and teal vacuums can be found in the electronics section, the first one of each is free then the red costs S575,000 and the teal costs 50SP
The pine and walnut wicker wardrobes can be found in the bedroom and teen sections, the first one of each is free then the pine costs S120,000 and the walnut costs 15LP
9.Jewelry Station
10.5 Constructor Coins
11.2 Social Points
12.5 Constructor Coins
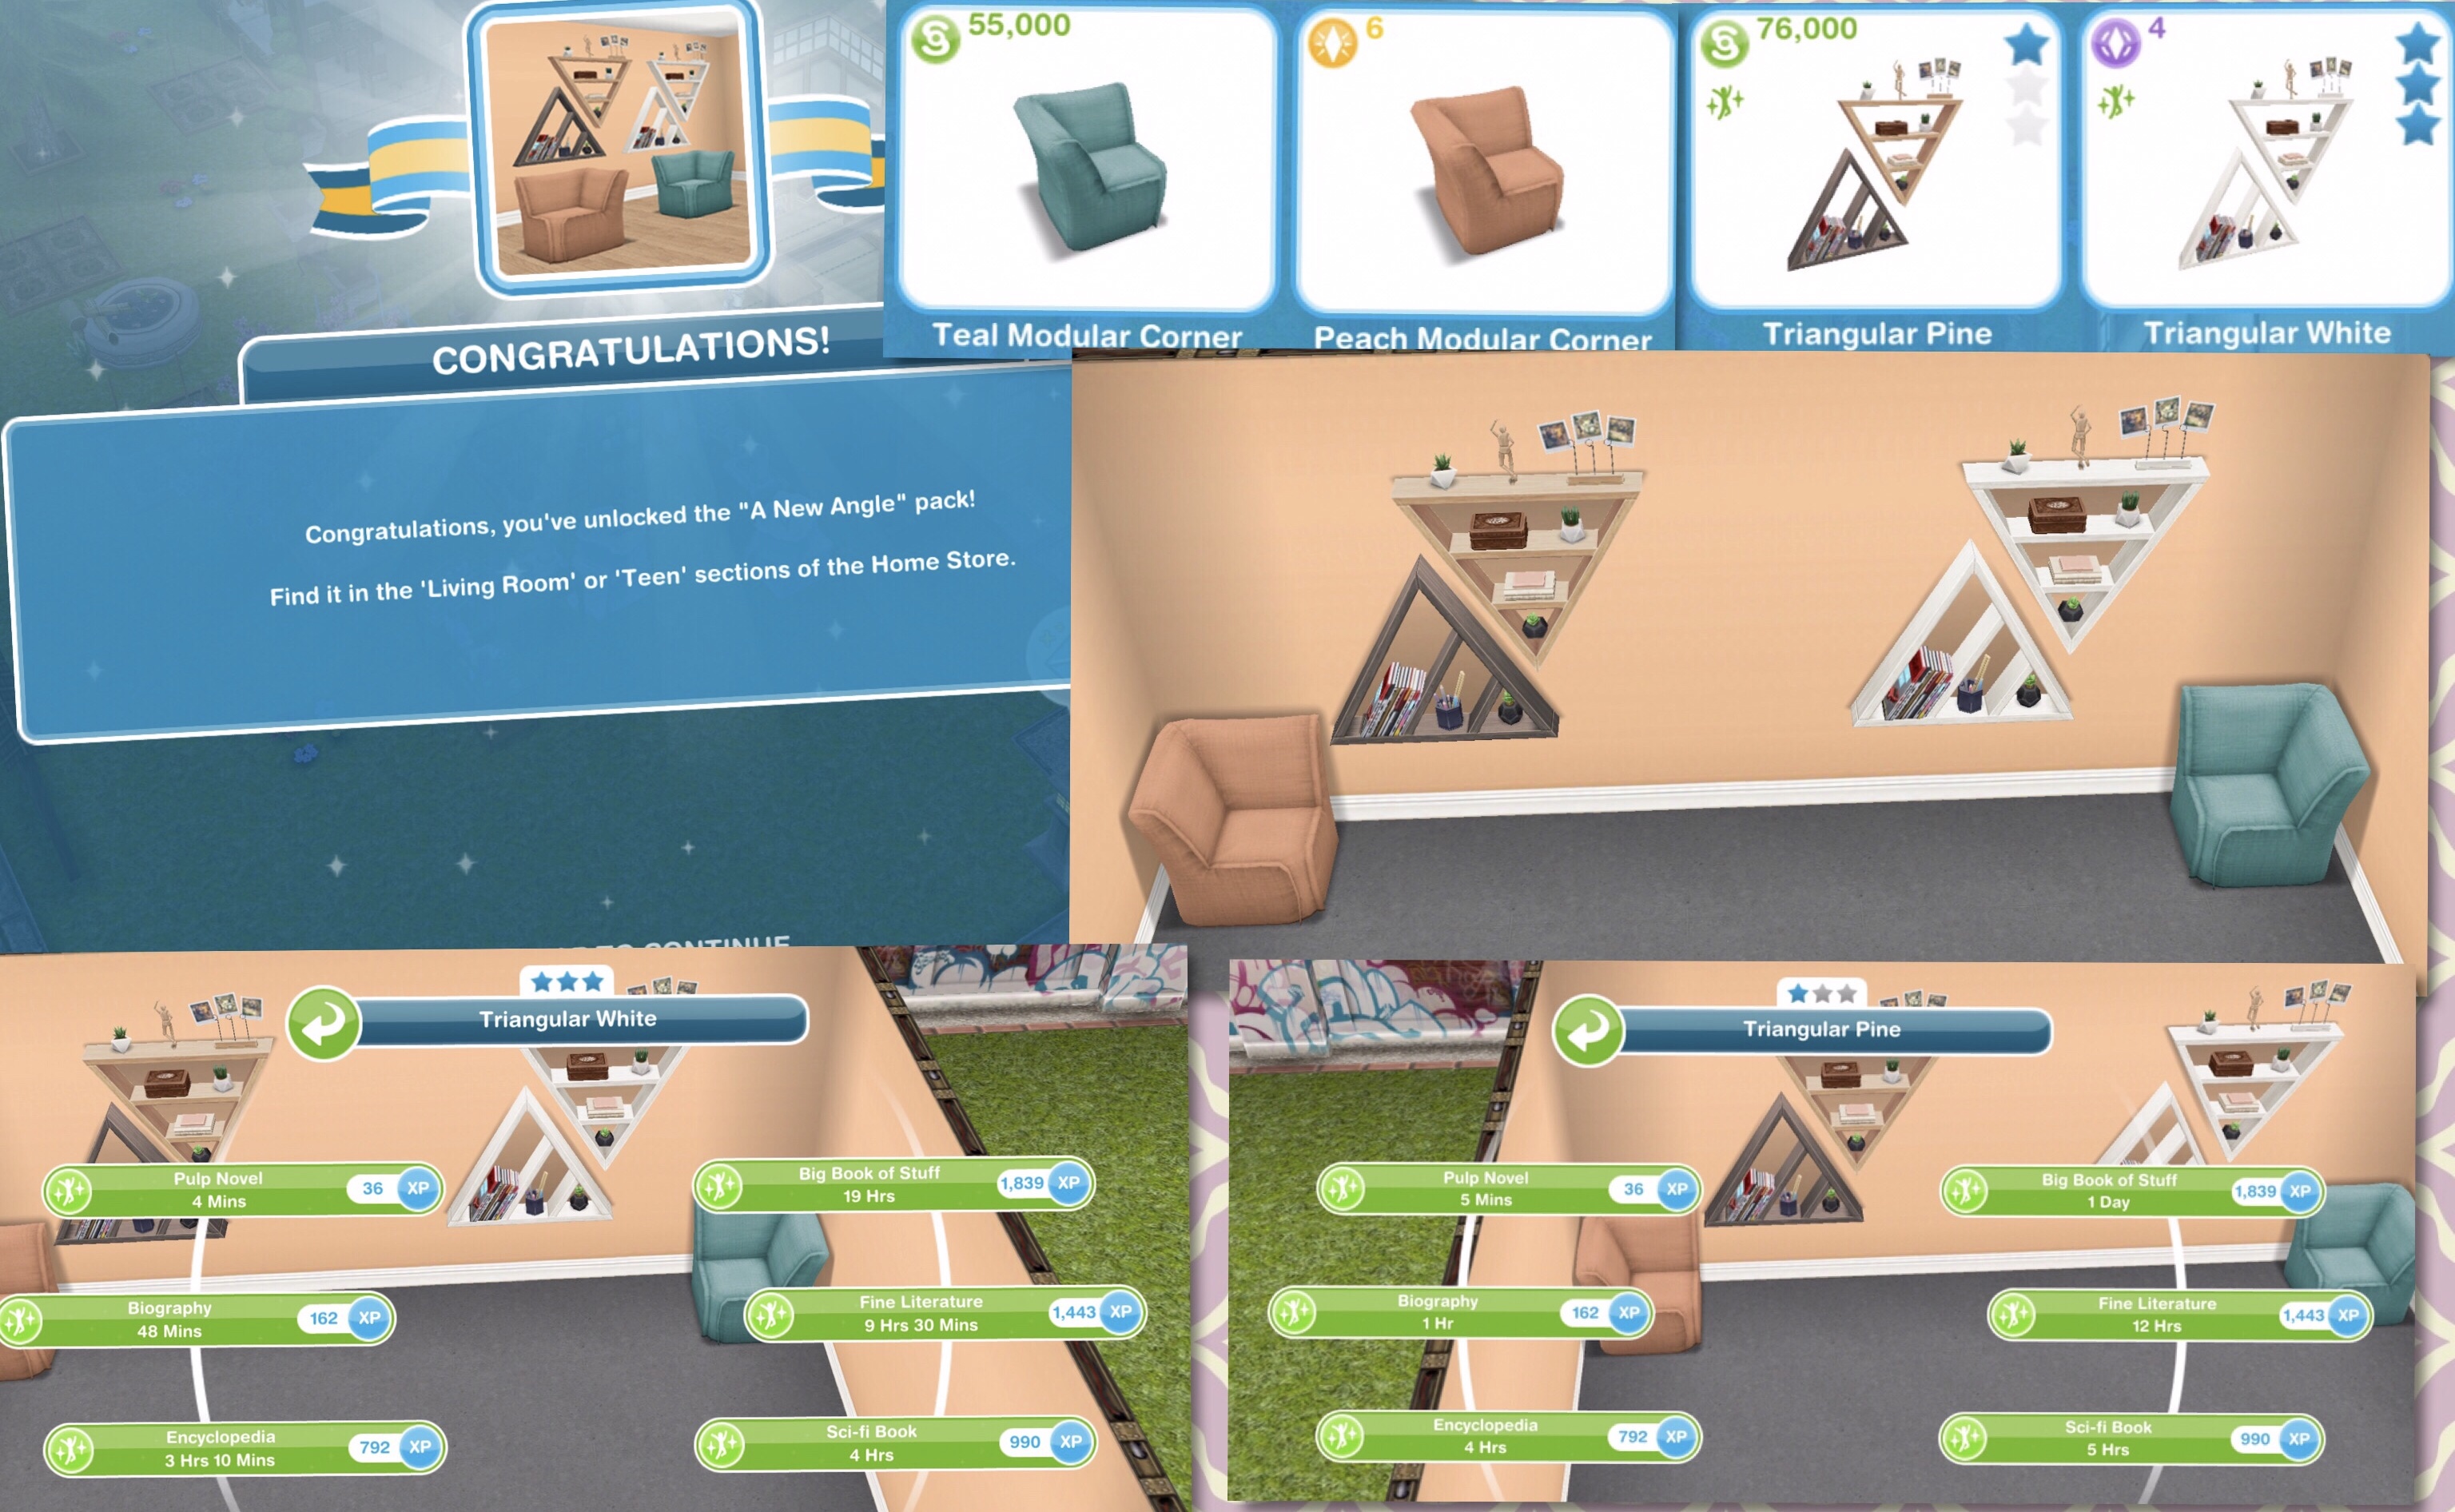
13.Shaping Up- A New Angle and Square Seats, Circular Stories
A New Angle– requires 7,660 pottery, 8,100 jewelry and 80 constructor coins to buy
The teal and peach modular corners can be found in the living room and teen sections, the first one of each is free then the teal costs S55,000 and the peach costs 6LP
The triangular pine and white bookcases can be found in the living room and teen sections, the first one of each is free then the pine costs S76,000 and the white costs 4SP
Square Seats, Circular Stories– requires 10,250 pottery, 11,000 jewelry and 110 constructor coins to buy
The teal and peach modular seats can be found in the living room and teen sections, the first one of each is free then the teal costs S60,000 and the peach costs 2SP
The round white and black bookcases can be found in the living room and teen sections, the first one of each is free then the white costs S98,000 and the black costs 8LP
14.Glassware Station
15.7 Constructor Coins
16.2 Social Points
17.7 Constructor Coins
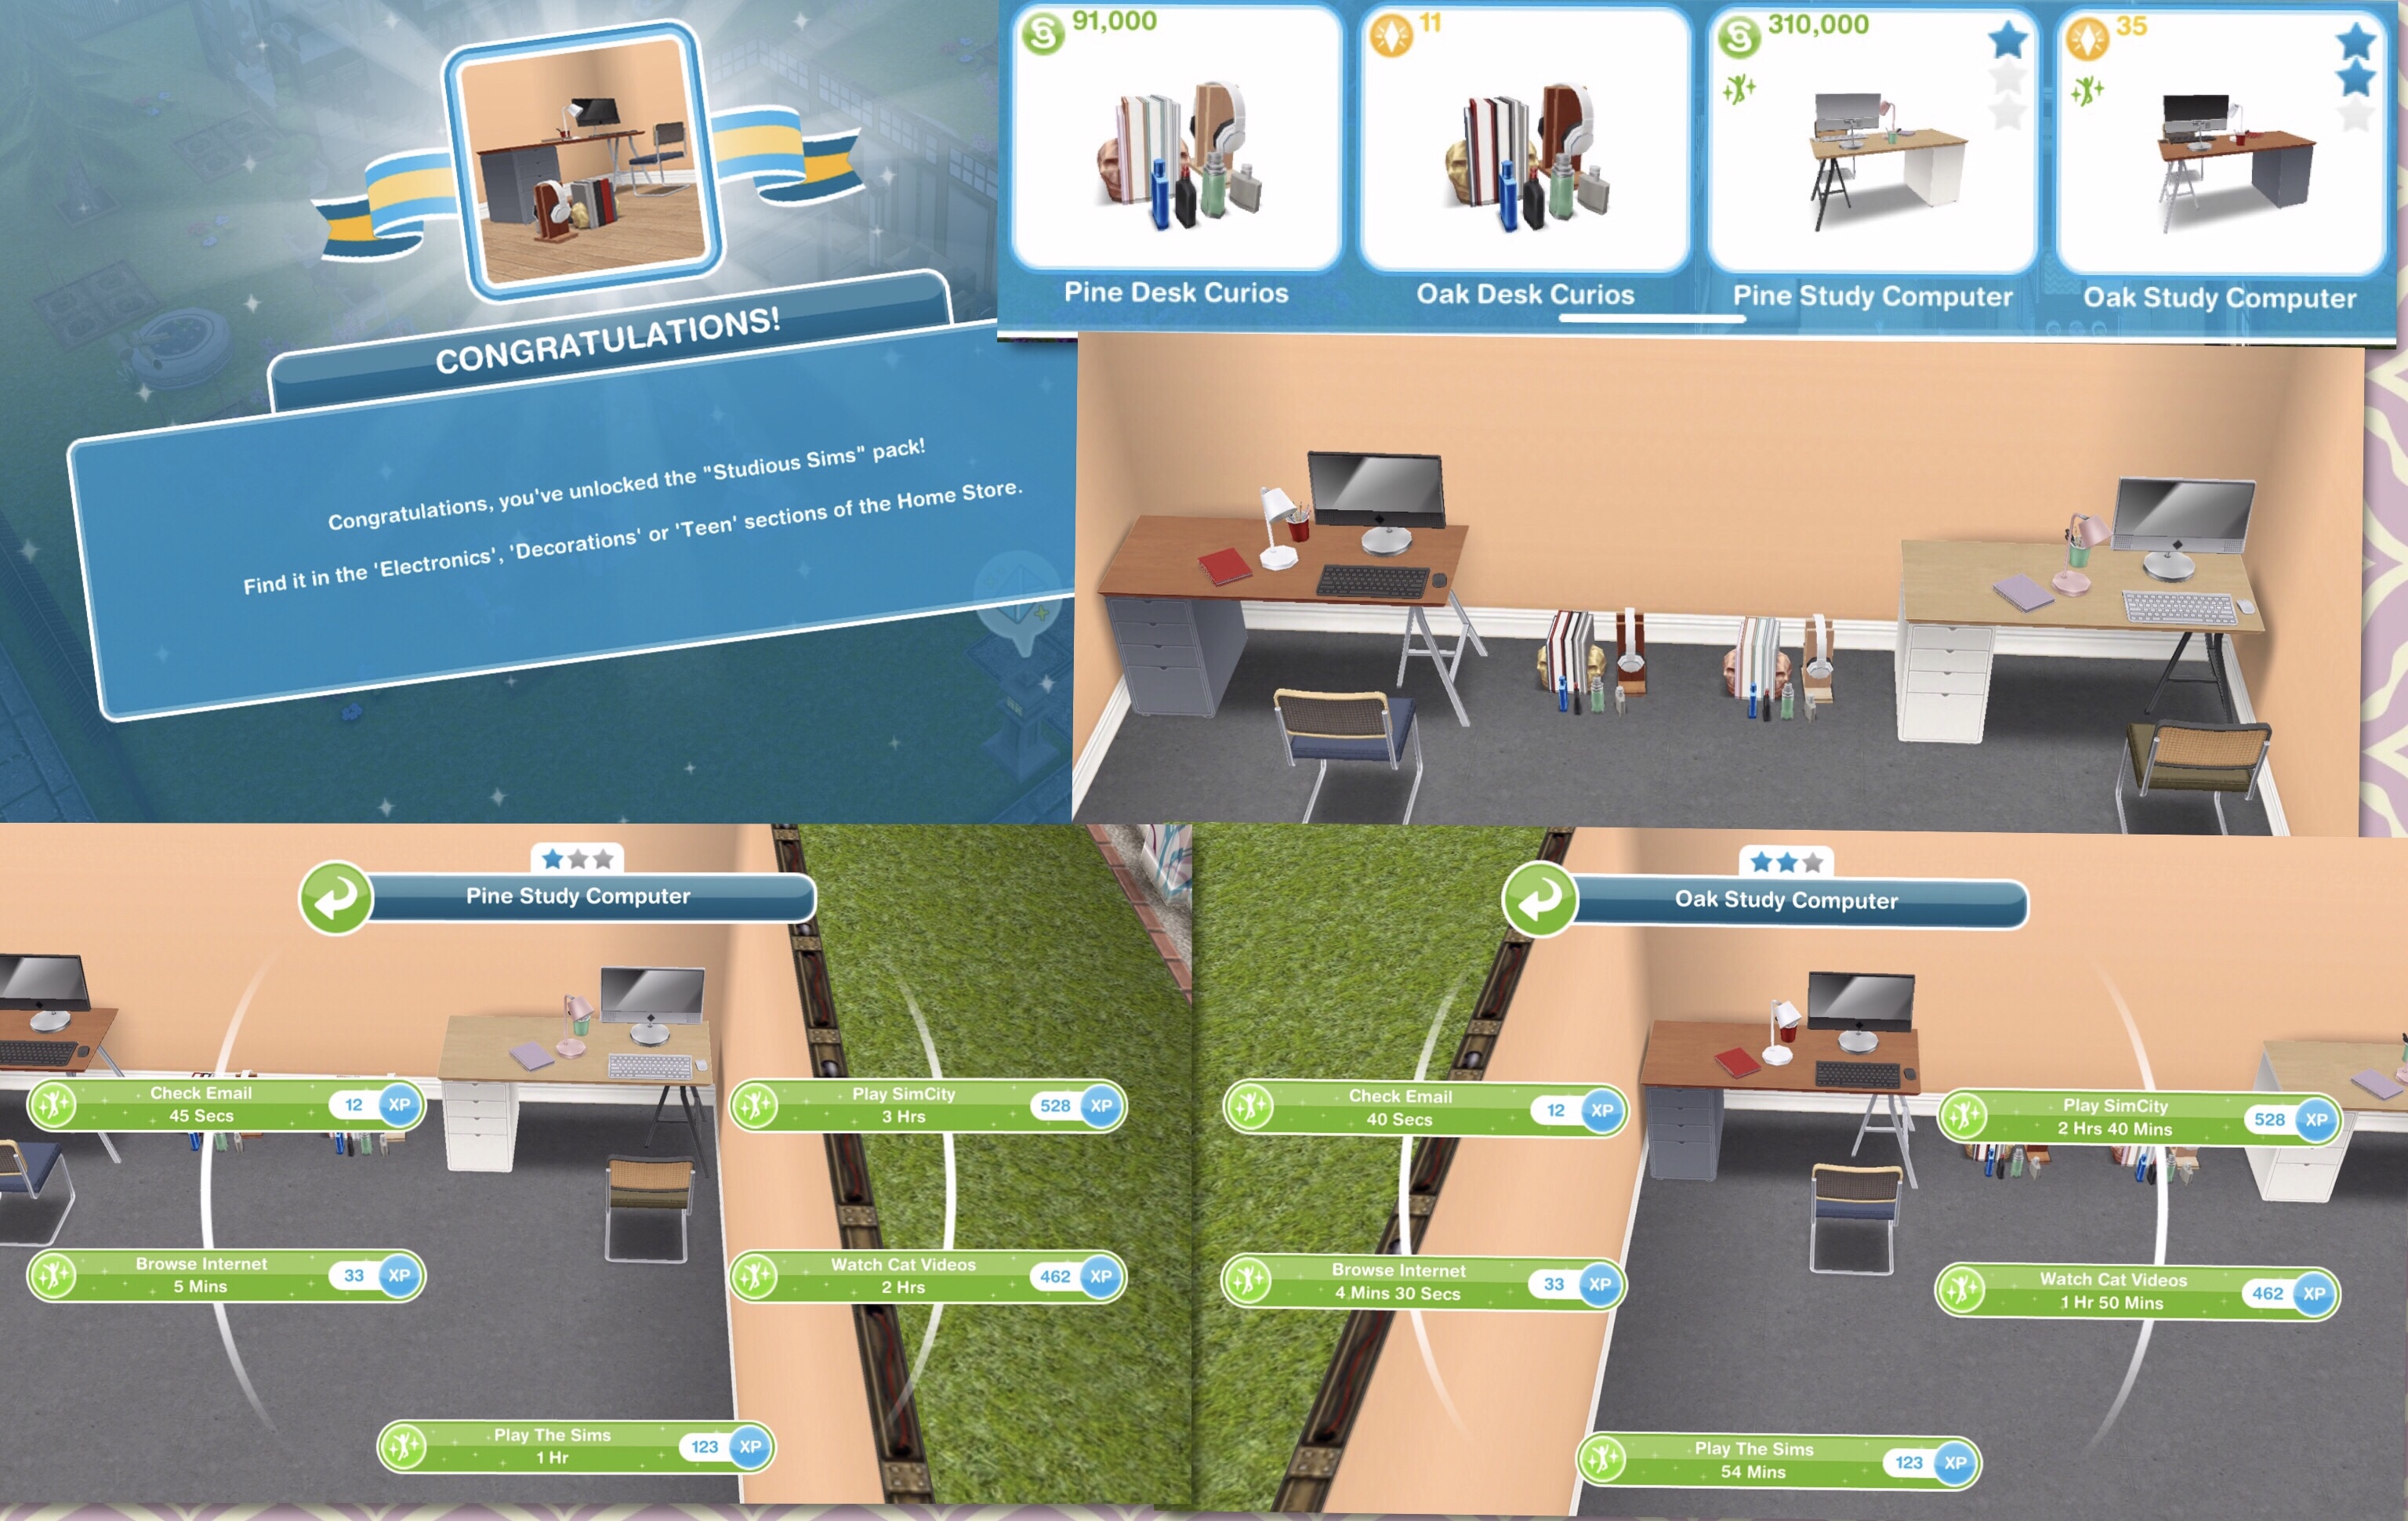
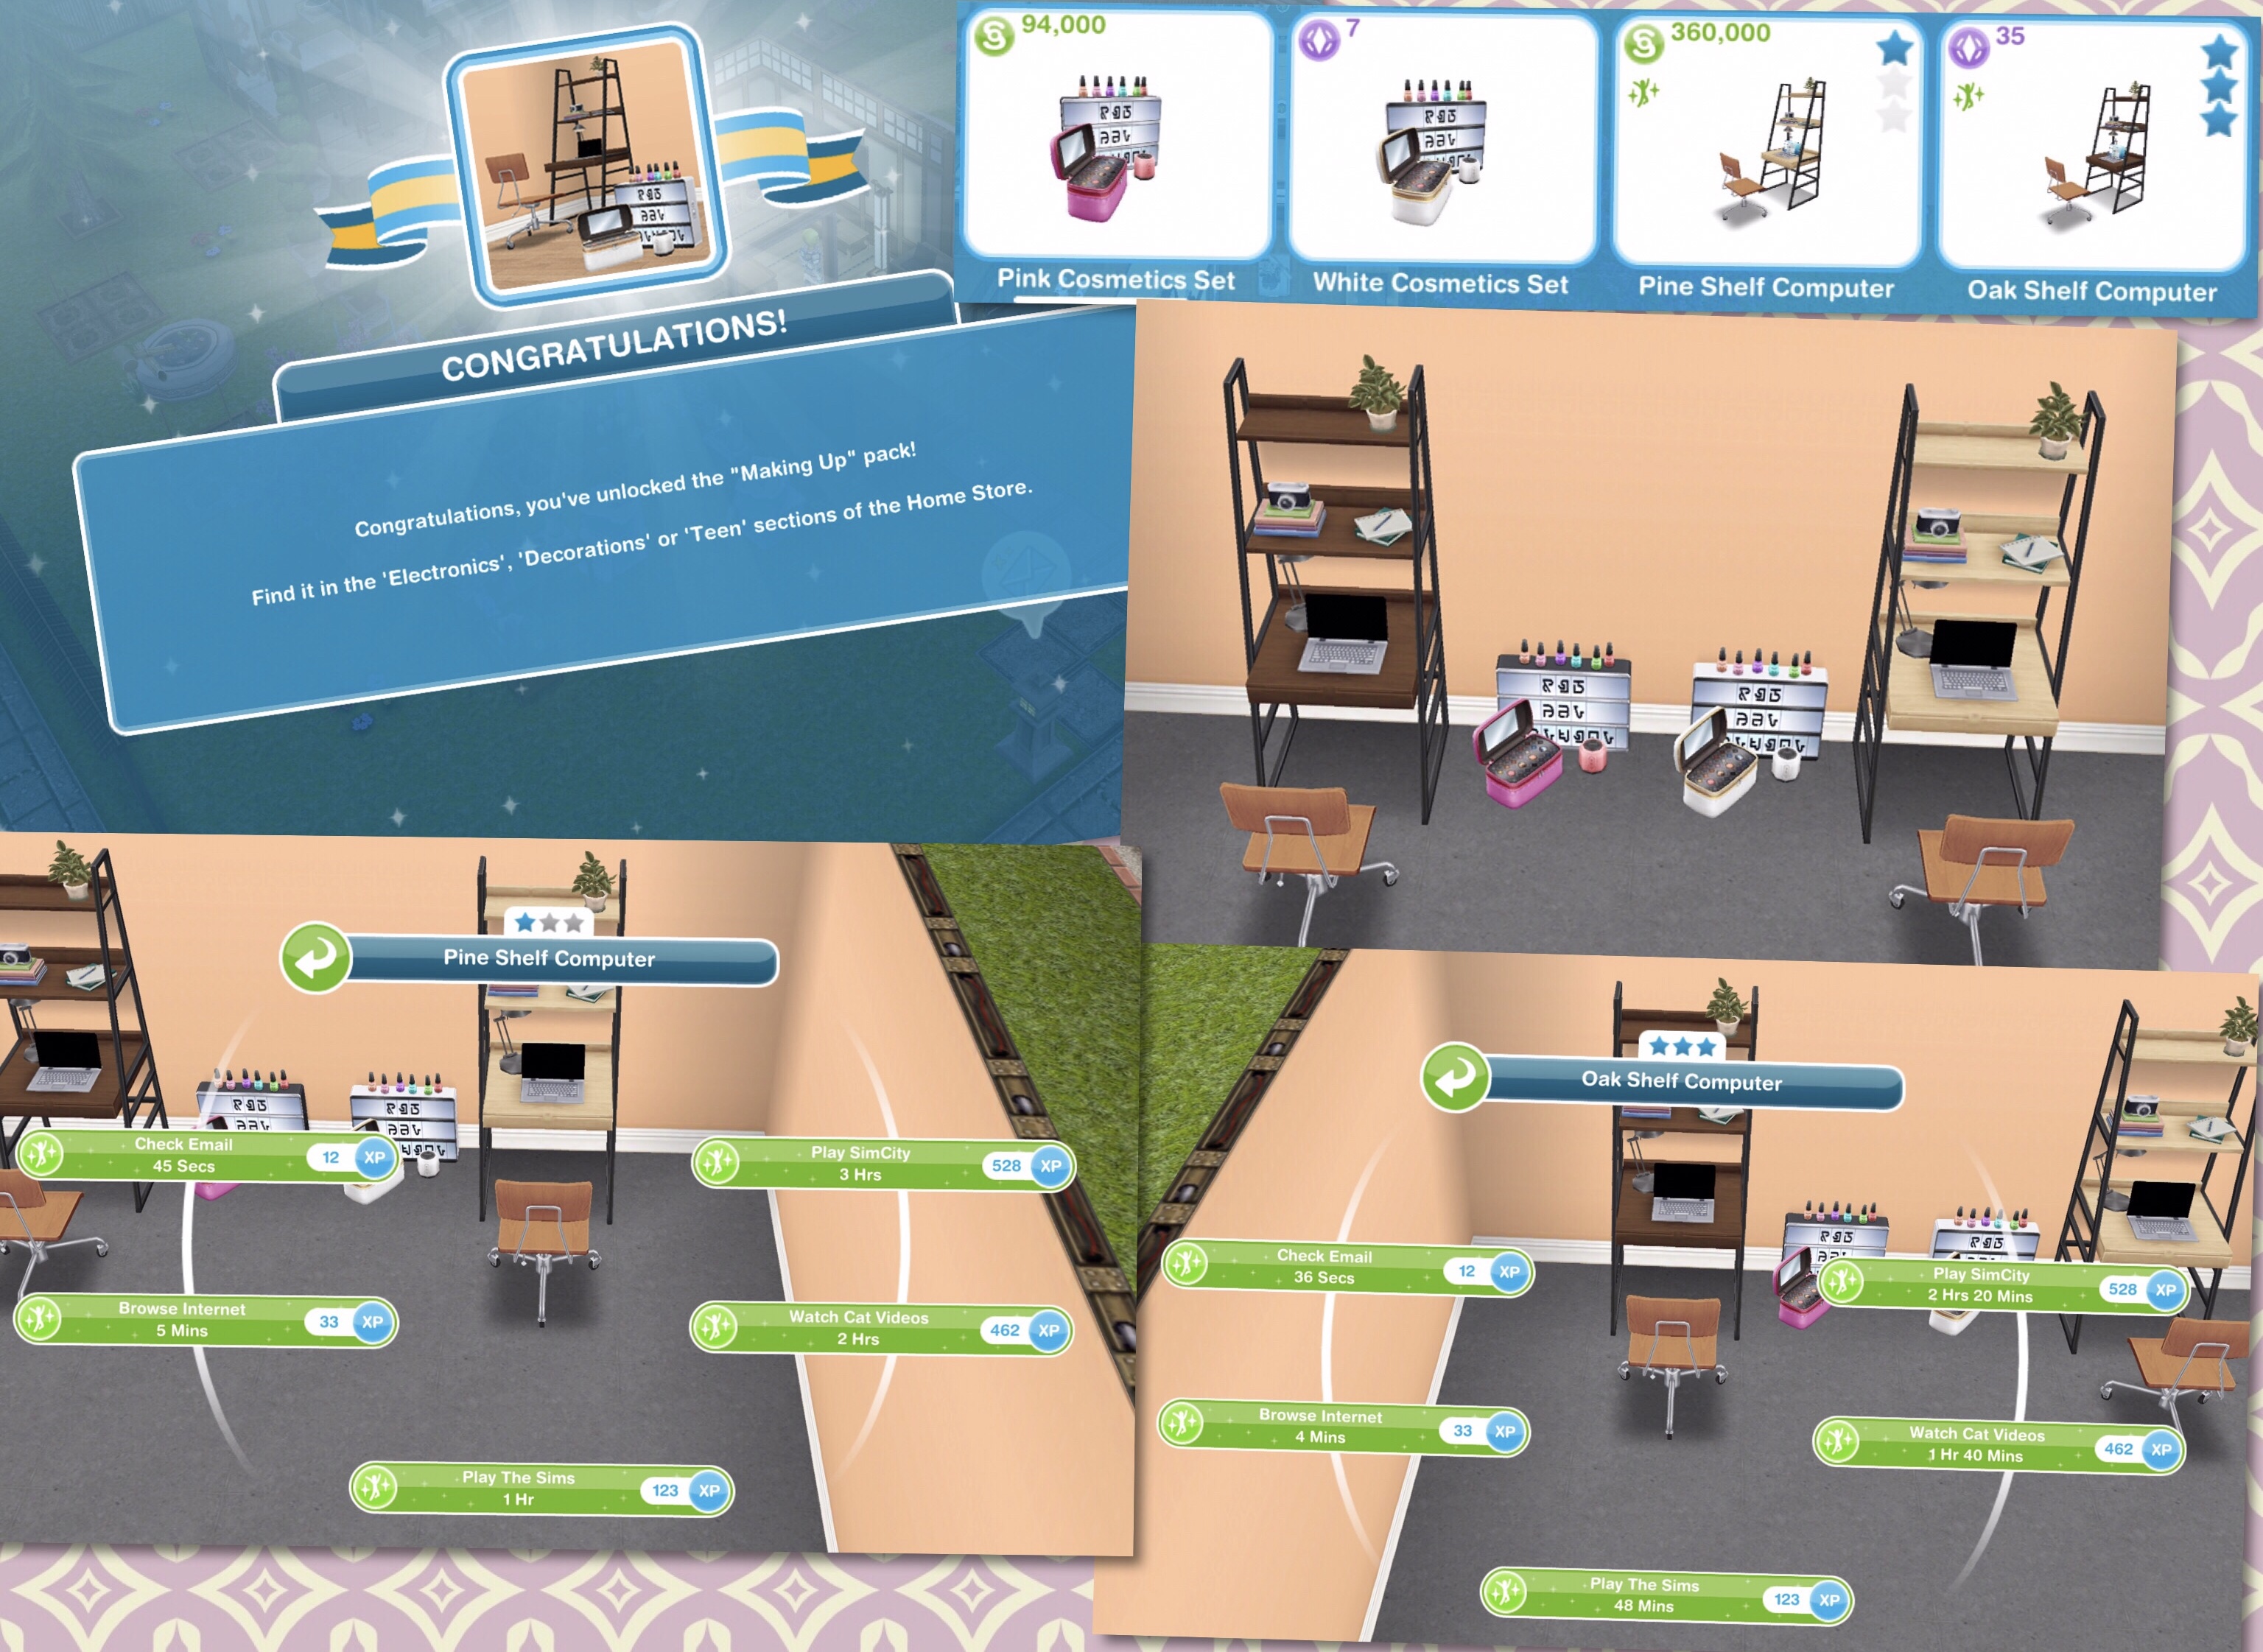
18.Work and Play- Studious Sims and Making Up
Studious Sims– requires 13,000 pottery, 13,500 jewelry, 13,500 glassware and 135 constructor coins to buy
The pine and oak study computers can be found in the electronics and teen sections, the first one of each is free then the pine costs S310,000 and the oak costs 35LP
The pine and oak desk curios can be found in the decorations and teen sections, the first one of each is free then the pine costs S91,000 and the oak costs 11LP (sims cannot interact with the curios)
Making Up– requires 13,500 pottery, 14,500 jewelry, 14,500 glassware and 145 constructor coins to buy
The pine and oak shelf computers can be found in the electronics and teen sections, the first one of each is free then the pine costs S360,000 and the oak costs 35SP
The pink and white cosmetics sets can be found in the decorations and teen sections, the first one of each is free then the pink costs S94,000 and the white costs 7SP (sims cannot interact with the cosmetic sets)
19.10 Constructor Coins
20.2 Social Points
21.10 Constructor Coins
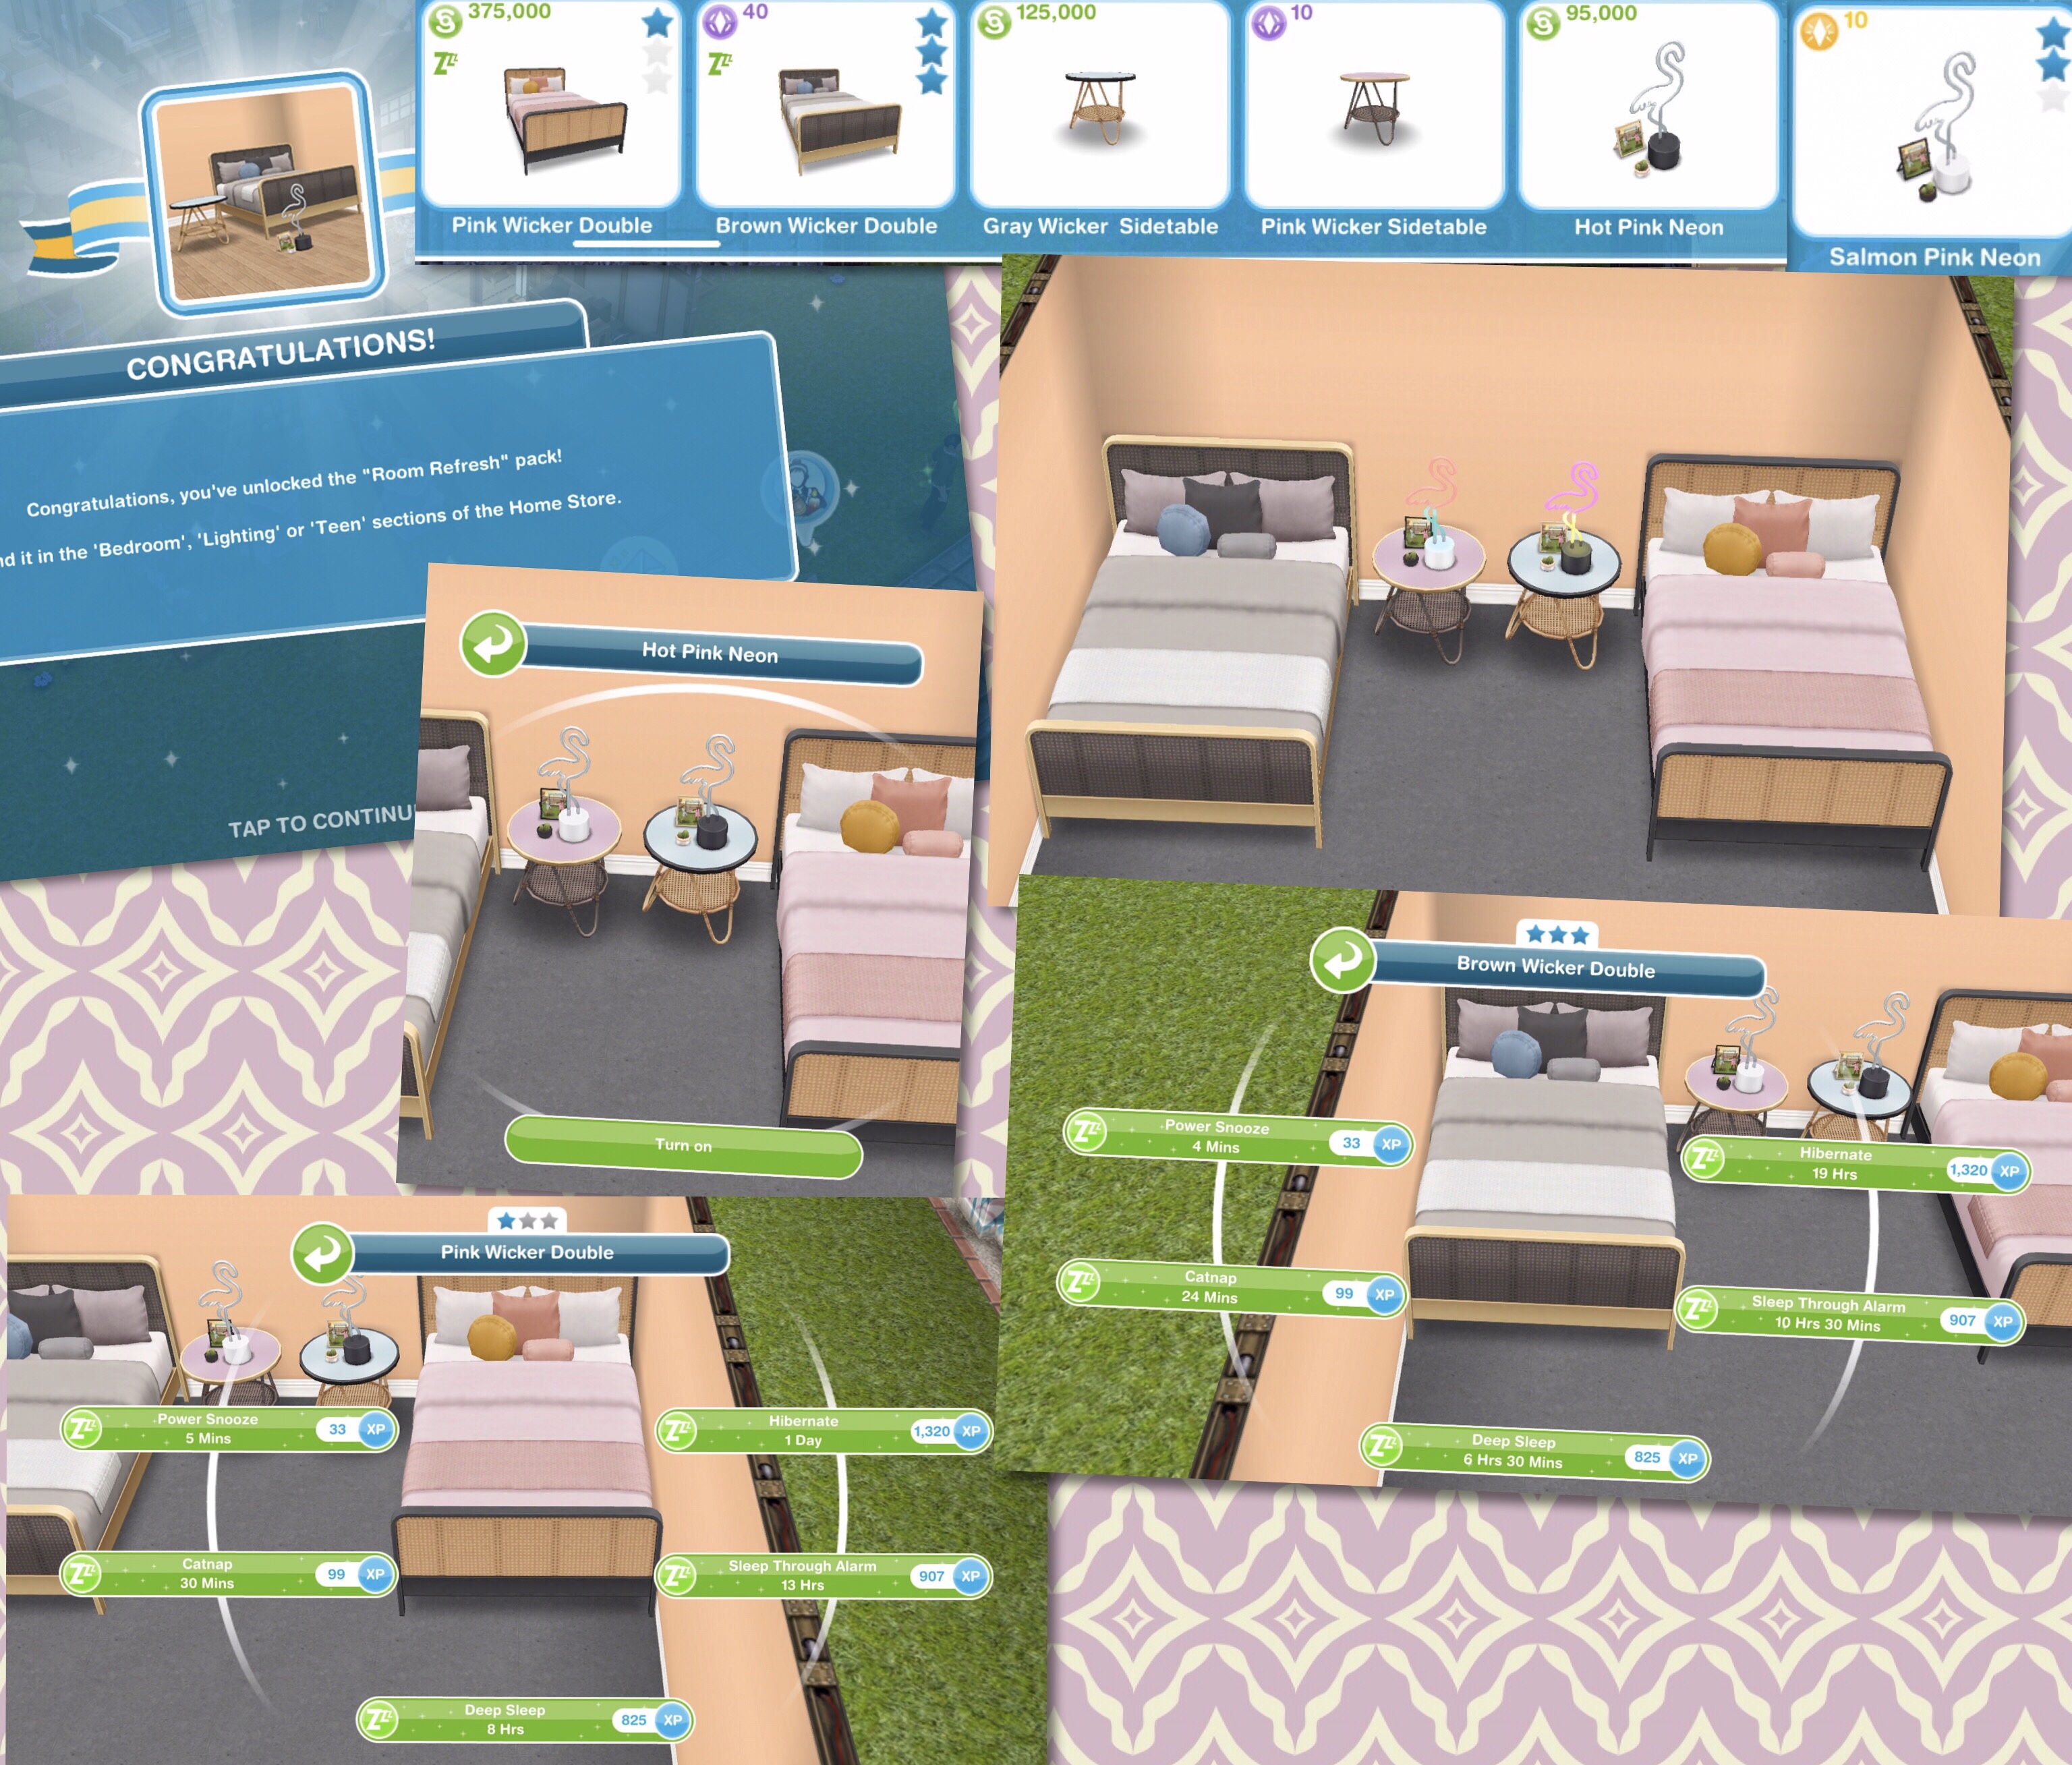
22.Teen Dream- Room Refresh and College is Calling
Room Refresh- requires 14,500 pottery, 15,500 jewelry, 15,500 glassware and 155 constructor coins to buy
The pink and brown wicker double beds can be found in the bedroom and teen sections, the first one of each is free then the pink costs S375,000 and the brown costs 40SP
The gray and pink wicker sidetables can be found in the bedroom and teen sections, the first one of each is free then the gray costs S125,000 and the pink costs 10SP
The hot and salmon pink neon lights can be found in the lighting and teen sections, the first one of each is free then the hot pink costs S95,000 and the salmon pink costs 10LP
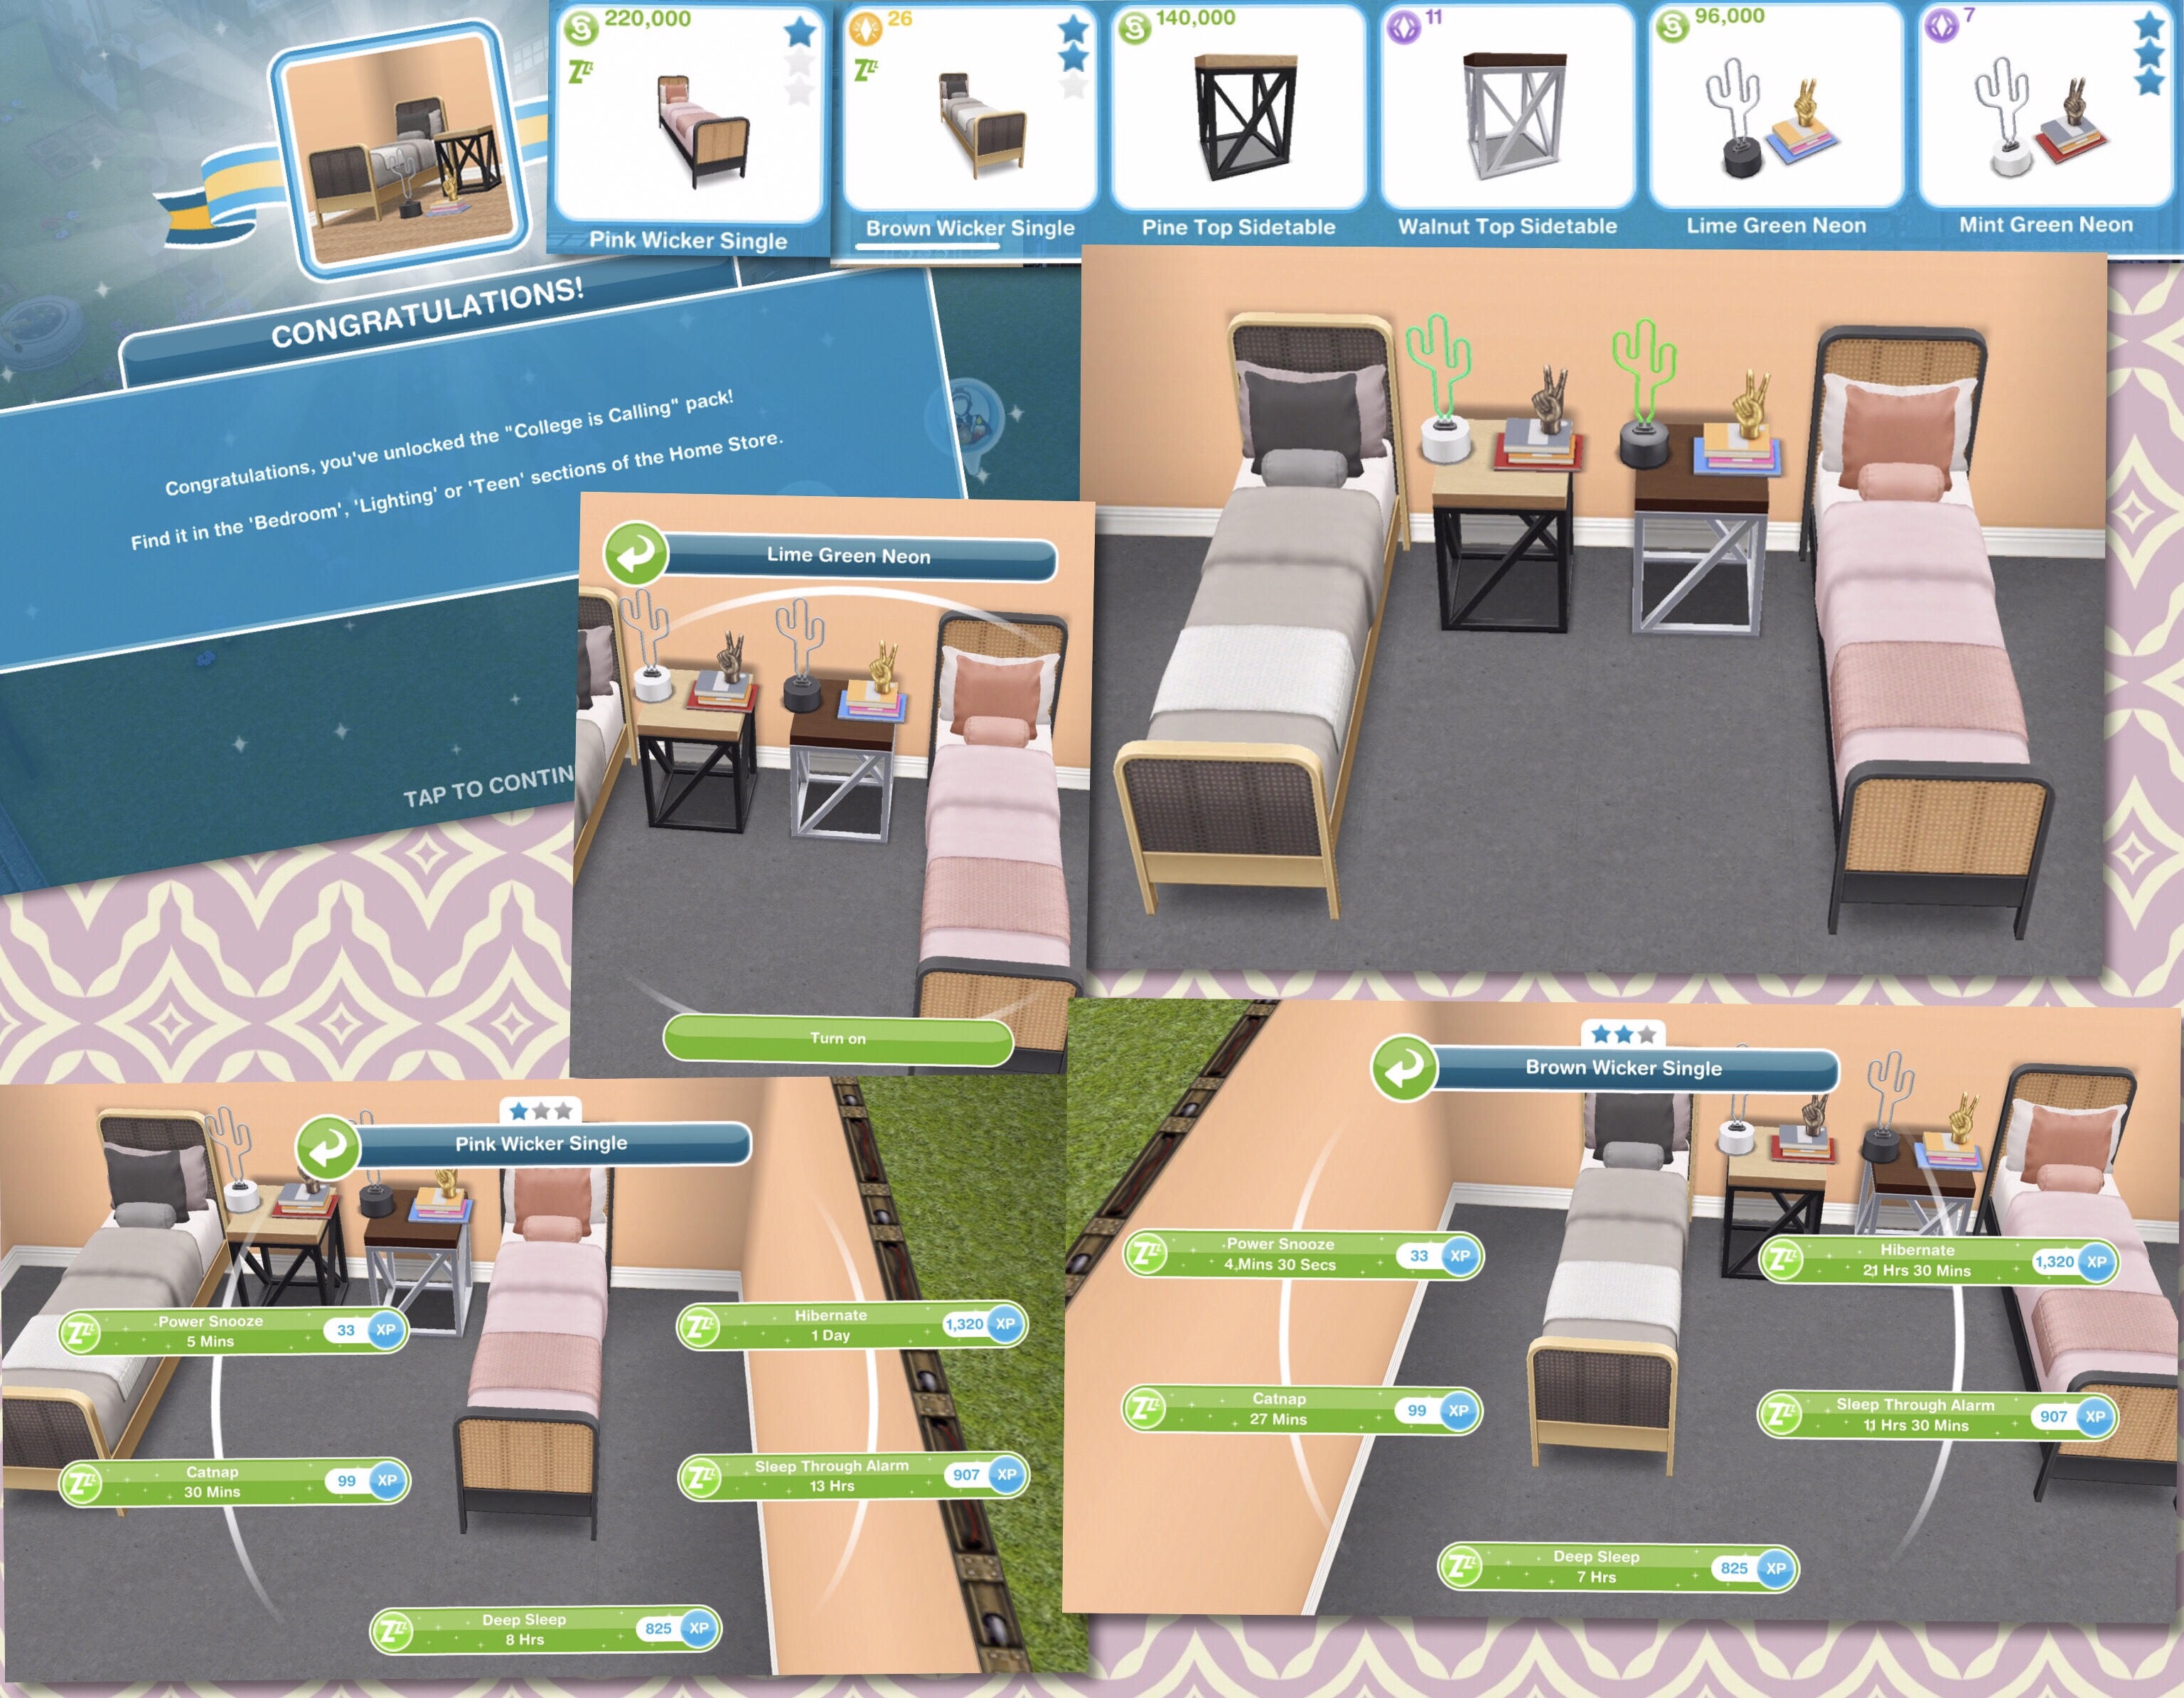
College is Calling– requires 16,000 pottery, 17,000 jewelry, 17,000 glassware and 170 constructor coins to buy
The pink and brown wicker single beds can be found in the bedroom and teen sections, then the pink costs S220,000 and the brown costs 26LP
The pine and walnut top sidetables can be found in the bedroom and teen sections, then the pine costs S140,000 and the walnut costs 11SP
The lime and mint green neon lights can be found in the lighting and teen sections, then the lime green costs S96,000 and the mint green costs 7SP
23.15 Constructor Coins
24.2 Social Points
25.15 Constructor Coins
26.Family Home-you can only claim this pack if you have purchased all the other packs in this live event
The hatchback car can be purchased from the car dealership for S850,000 but you do get the car for free with this house template.
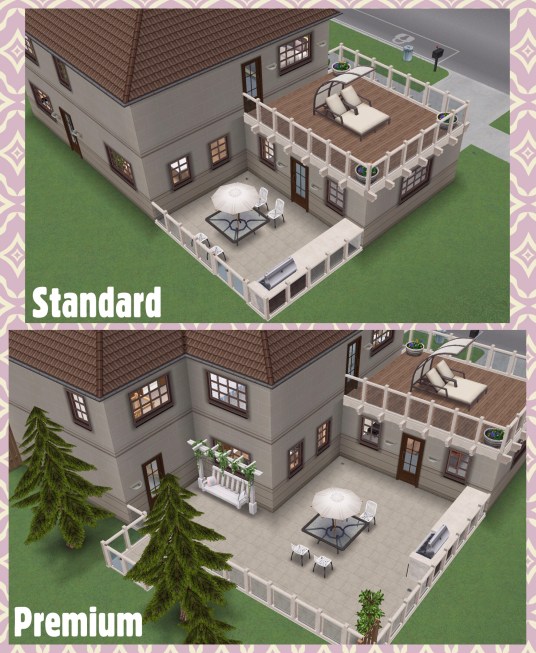
This house can be built on a standard or premium residence, the first one is free then they cost simoleons depending on how many houses you have already built. You can add up to 4 cars to this house lot!
The other three car parking spaces need to be unlocked by purchasing with simoleons:
Additional Space One: S250,000
Additional Space Two: S750,000
Additional Space Three: S1,500,000
Once you purchase an additional space you will be able to add another car but you need to have more than one adult/senior sim living in this house to add more than one car otherwise it will just switch their car to the new one you have just brought. For example if you wanted 3 cars in this house you need 3 adult or senior sims living in this house.
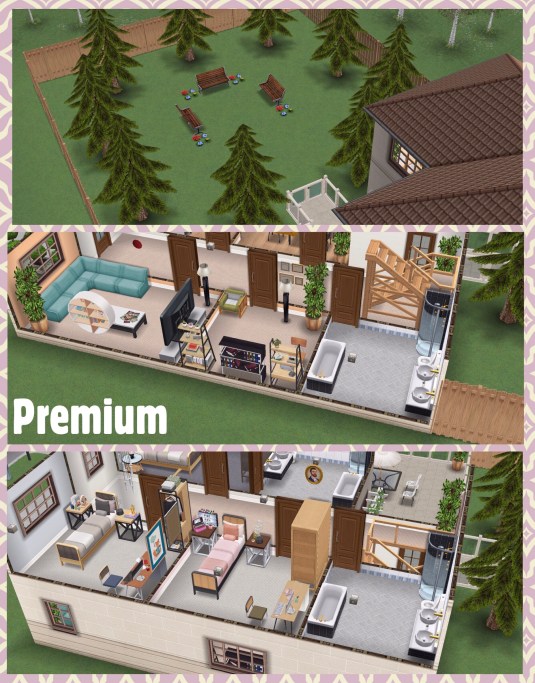
What is the difference between the standard and premium residence?The premium has a bigger patio area and a fenced off garden, the house is also bigger but only because they have added two extra bathrooms, one on each floor:
I prefer the house on the standard residence as the extra bathrooms and just a garden full of trees aren’t very interesting but the interior on both houses isn’t that exciting either. They have been unable to create any decent bathrooms, kitchen or dining room for this house as we haven’t unlocked any of those items in this event so it isn’t the highest quality house available from a live event and I won’t be building this on my own game. My favourite part of this house is the railings on the patio and balcony but unfortunately I think they are only available with this house.
Watch my tour of this house here:
And here is my edited Family Home:
Constructor Coins
You earn constructor coins by:
Personal Progress prizes
Completing Daily Goals
Coin Plant Patches
Earning Constructor Coins? Previously on these events I used social points on the Mega Spin Plant to win constructor points. I earn social points by completing the cooking hobby and earning LP, I can then turn the LP into SP using the social point plant on a normal garden patch- this was when it cost 5LP- the social point plant now costs 20LP so you may want to try the option below first instead:
Or you can use 450 candles for the Spin Plant (a good way to use up any spare candles) which will also earn you constructor coins but the amounts are less than they are from the Mega Spin Plant
What is the minimum and maximum amount of coins you can earn on the mega spin plant? The minimum is 10 and the maximum is 500
Now on the coin flower patch you can see the chances of getting the different combinations on each spin plant, click on the green i button to see:
Laura Craft? You may have noticed at the front of one of your houses there is a board with a bubble of a person holding arts and crafts items above it, this is Laura Craft, you can buy her for real money to help you complete the event. When you buy her, you select the item you want her to make from the options: 200 candles, 300 pottery, 450 jewelry or 500 glassware (the amounts seem to differ for most of you and I have no idea why that is!) (you will unlock all the options once you have unlocked all the stations) and you will be able to collect them after 2 hours.
Do I think she is worth it? They have improved Laura Craft a lot since the first event (although it would be great if she made constructor coins) she used to be able to collect every 8 hours, they have now changed this to 2 hours so she is more useful now so if you are struggling then you may want to splash out and give her a try but remember you will only get her for this event, you will have to buy her again to use her for a live event in the future. I personally don’t ever buy her, if I don’t manage to earn enough items or coins in the time limit I just wait until the next time the event is available!
If I brought Laura Craft in the last event do I get her for free or do I have to buy her again? You have to buy her again for this event.
Once the event is over it will convert your unused resources into simoleons, the conversion rate is half the amount of resources, for example, if you have 10,000 candles left over you will earn 5,000 simoleons, if you only have 1 of a resource left over you will only earn 1 simoleon. When a new live event becomes available you start from 0 resources
If I don’t complete this event this time will I have to start from the beginning when it returns? No, you will start from where you got to this time!
Hi everyone! In this post I share with you links to all the posts and videos I have created in the previous month, this is everything from June. Some of the events/quests listed may no longer be available.
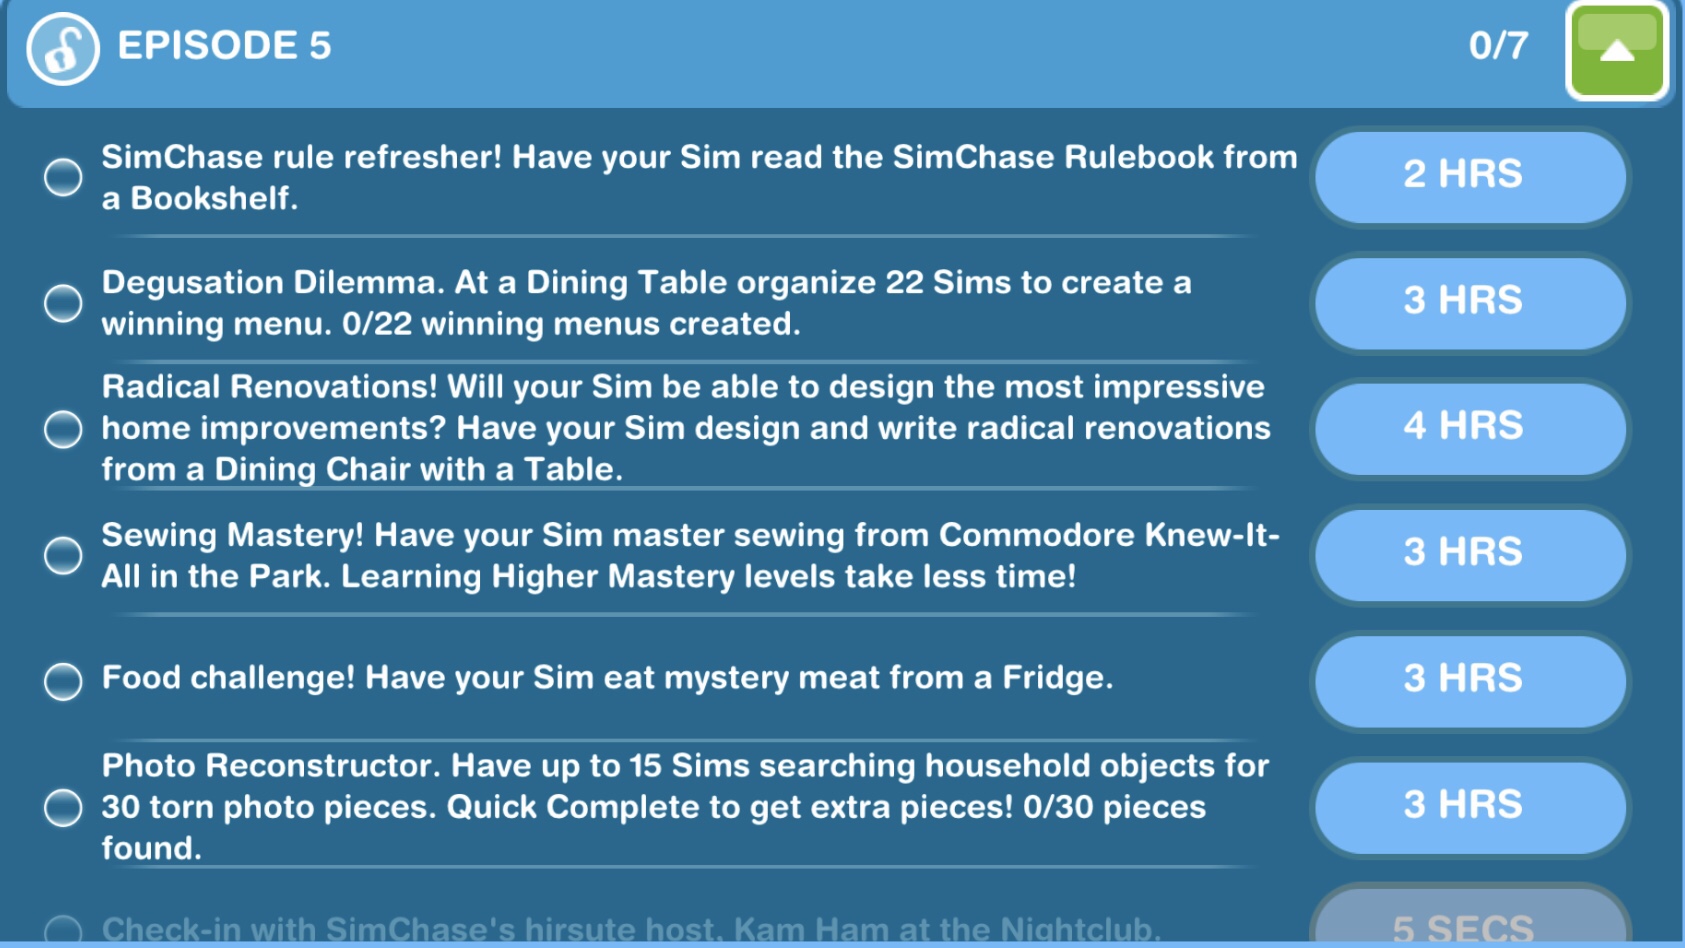
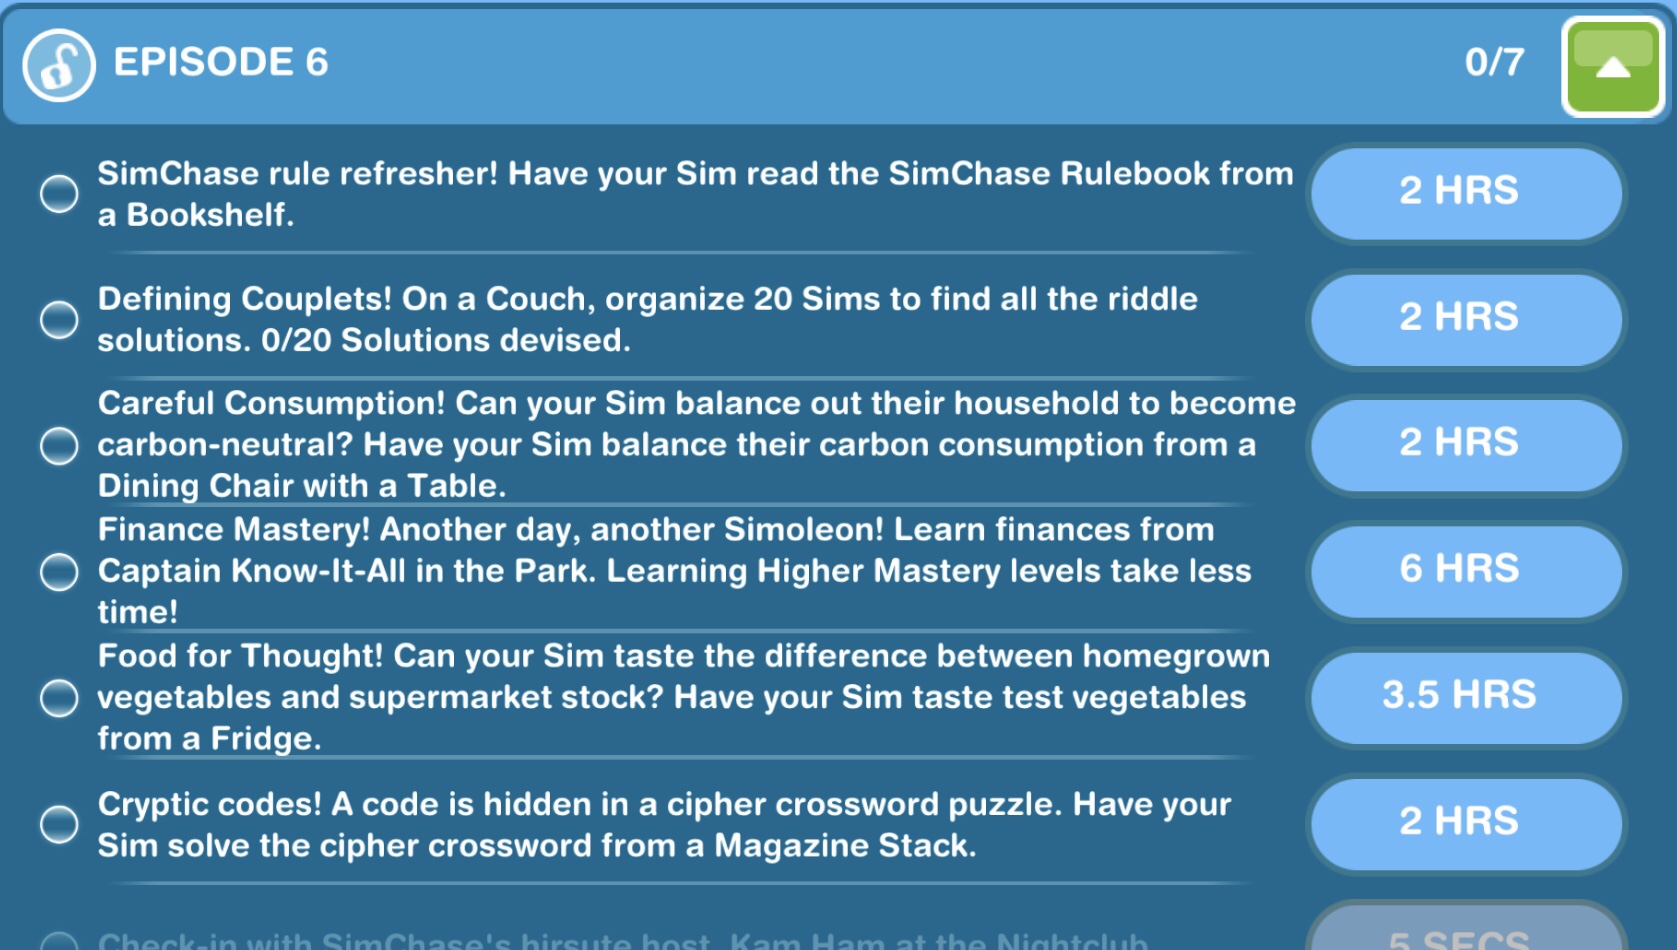
I created a similar post for Pregnancy Events so I thought I would do one for SimChase too and see if it was actually possible to complete a SimChase in the time limit.
Check out mySimChase post if you want to know more about how to complete SimChase and to see all the prizes
Tips for Completing SimChase:
Start the SimChase event at a time you will be able to open the game every day, for example, I started at around 9am so I could complete as much as possible in the day time and didn’t have to get up so much during the night. You have about 24 hours to complete an episode before the rival will win (I don’t know the exact time the rival completes an episode as it depends on the spin tokens you’ve used against them too)
Complete in the order best for you, you don’t have to complete them in order shown, I do have a few tips below which I found useful:
Leave longer tasks for during the night (if you can) it took me a few days to realise this but if I did the longer tasks during the night I could sleep more!
Do tasks that require several sims first or during the day, it doesn’t matter how long these are you want to get them out of the way quickly and not have to count several times that you have enough sims completing it during the night as you are more likely to make a mistake (and it takes longer to go back to sleep!)
Have as many sims as possible completing the tasks that require several sims at the same time (I was fuming by this- I needed 28 sims for a few tasks but preteens couldn’t do it so I only have 27 sims who could complete it at once so I had to do it twice!) make sure you check a few times that you have enough sims completing the task so you don’t have to waste any time redoing the task for one sim you missed (although if you need a ridiculous amount of sims you will probably have to redo the task anyway!)
Set a timer on your phone for when the task will complete so you know when to check back in and start the next one
Use 3 star items (if possible) 3 star items give you the shortest amount of time to complete the task
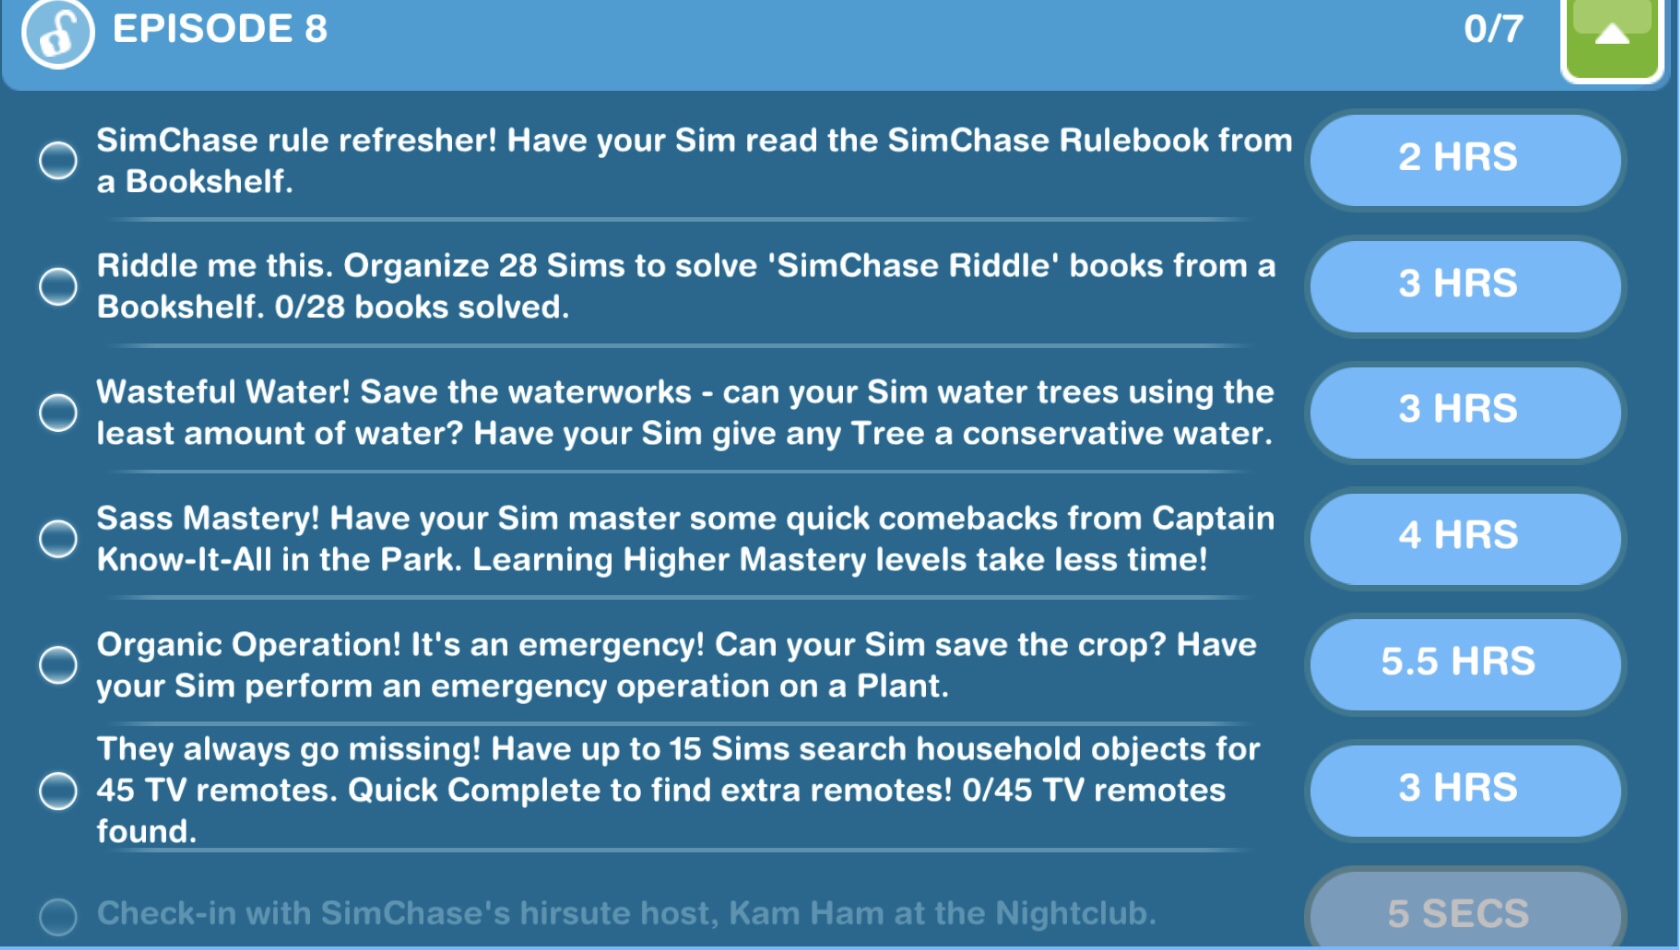
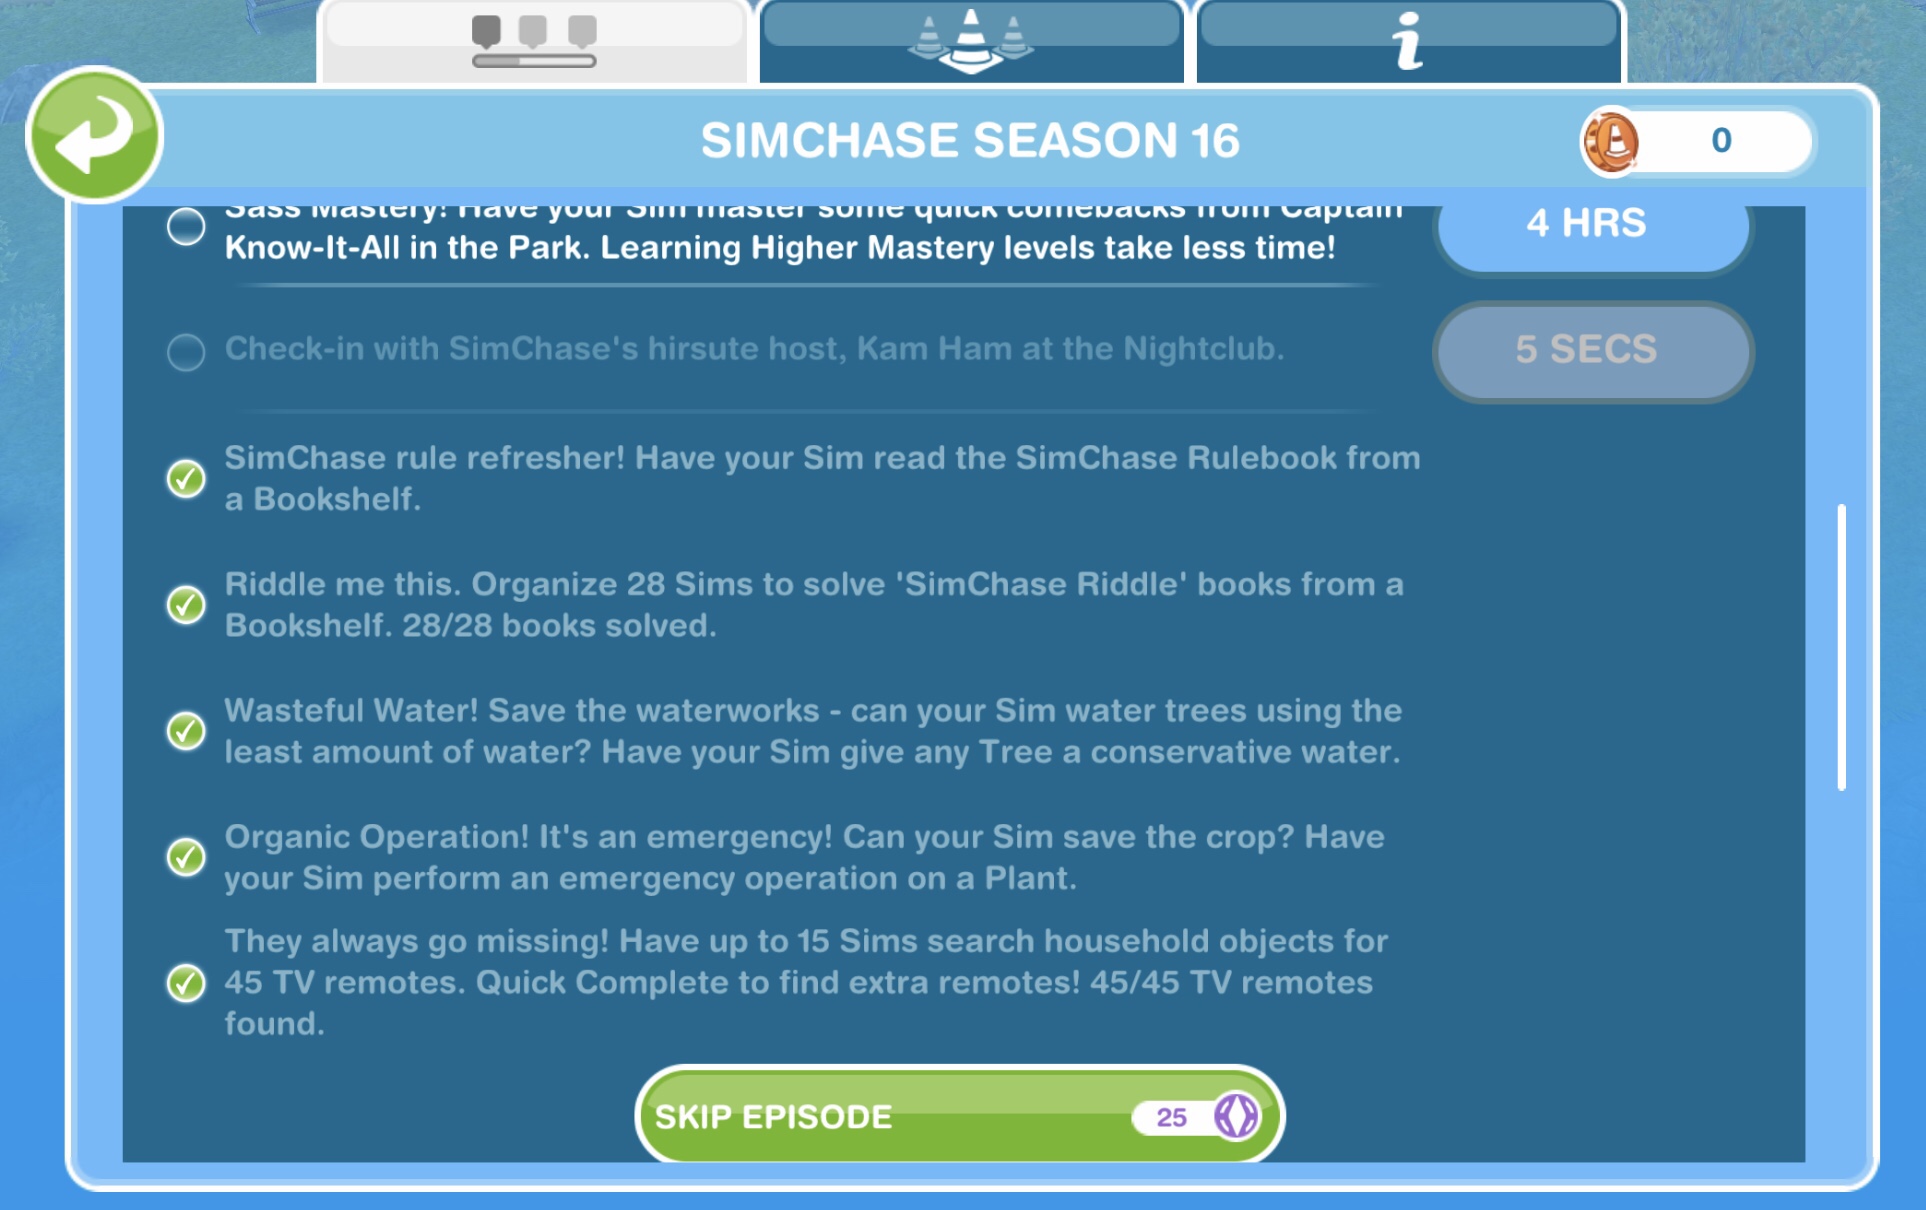
Use social points sparingly (if you want to) you don’t have to use any at all but if you do, check how much it costs to speed up the task on the sim and the SimChase menu as one will be cheaper! Also if you don’t have a lot of simoleons you can leave the mastery class until last and skip that with SP to complete the episode. I had to do this with episode 8 (due to an internet issue in the night I was behind) I used 25SP to skip episode rather than spending simoleons, 38SP or 51SP on the mastery class that would have also taken time to complete
Check out mySimChase post if you want to know more about how to complete SimChase and to see all the prizes
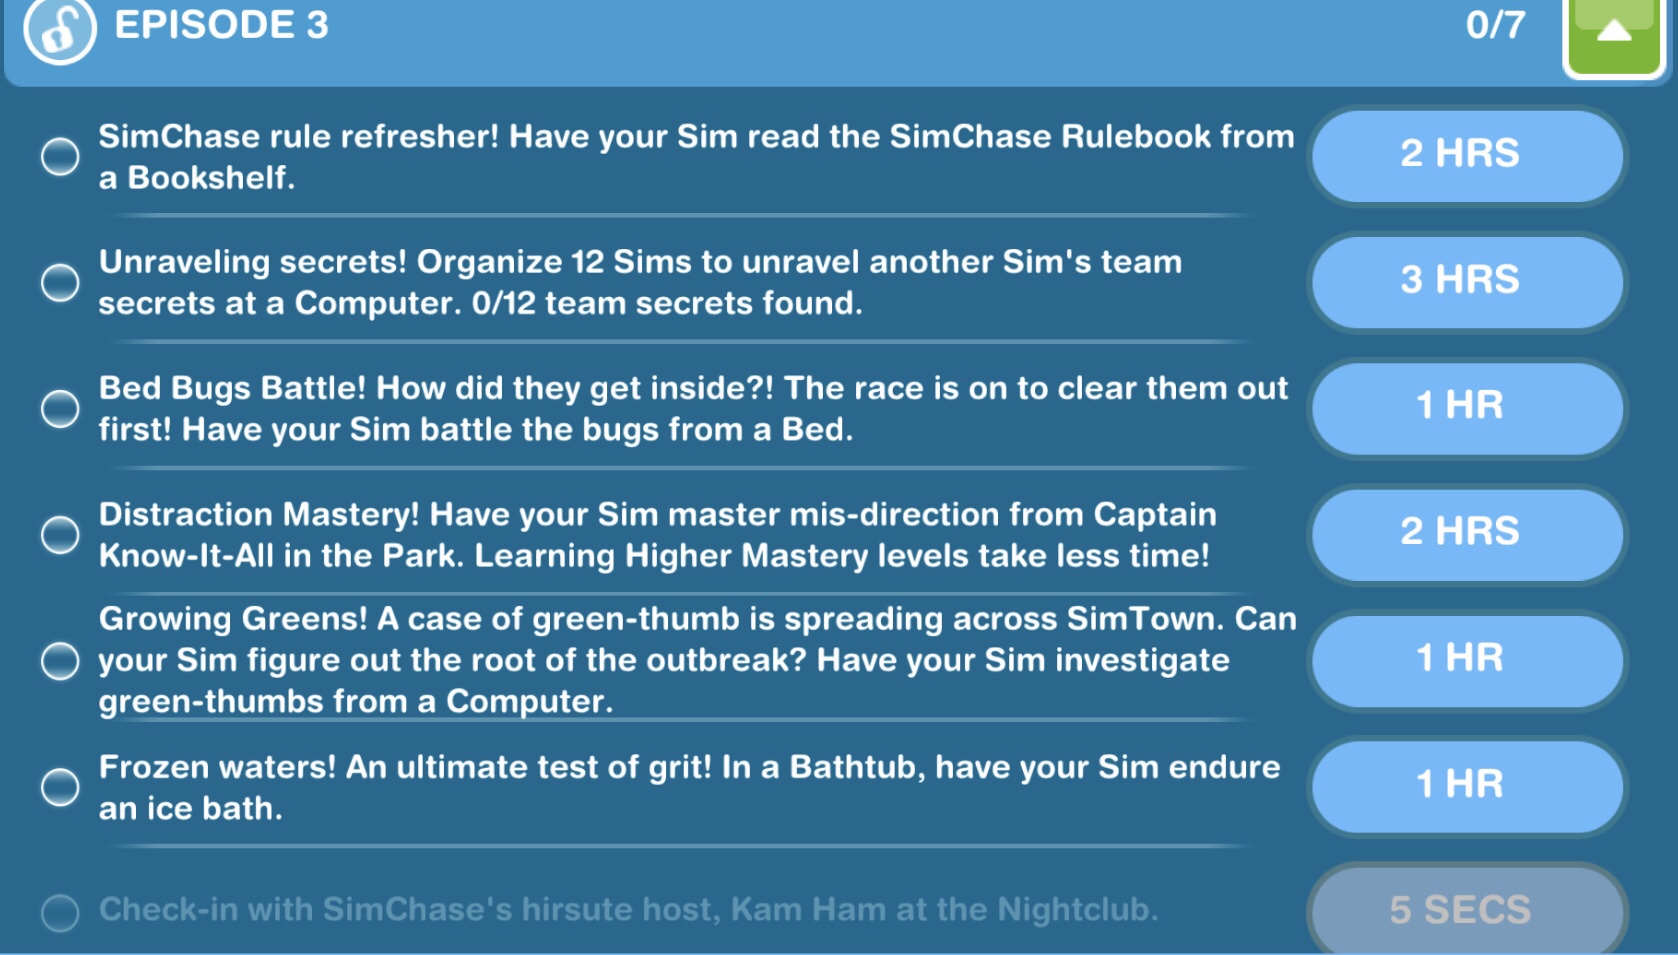
I have documented my experience completing a SimChase below to give you some idea of the sort of goals you will get but remember that the tasks and times will differ for you depending on which season you are completing
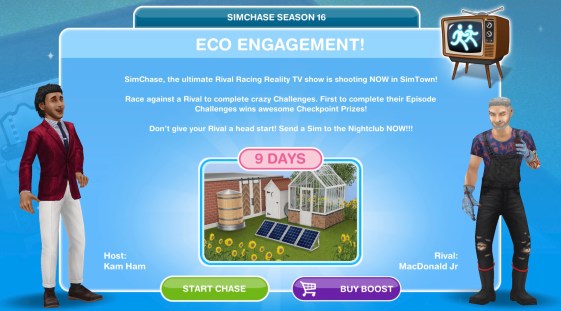
I was completing Season 16: Eco Engagement which is a 9 day SimChase
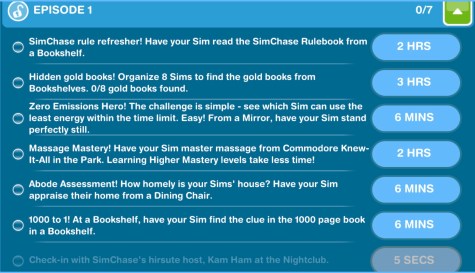
11:11am Solve SimChase riddle book 28 times (28 sims)- 3 hours
I only have 27 teen/adult/senior sims and I’m at the maximum amount of sims I can have in my town so I can’t add anymore- some tasks can be completed my preteens but I think to just annoy us they have made this one so preteens cannot complete it. If they could I could complete it in one go but now it is going to take me double the amount of time.
2:20pm Solve SimChase riddle book 28 times (28 sims)- 3 hours
24 complete, 4 to go (a few failed to complete the first time too)
5:20pm Find 45 TV remotes (15 sims max)- 3 hours
8:23pm Conservative water- 3 hours 45 minutes
12:23am I woke up to complete this but I had no internet until 3:30am
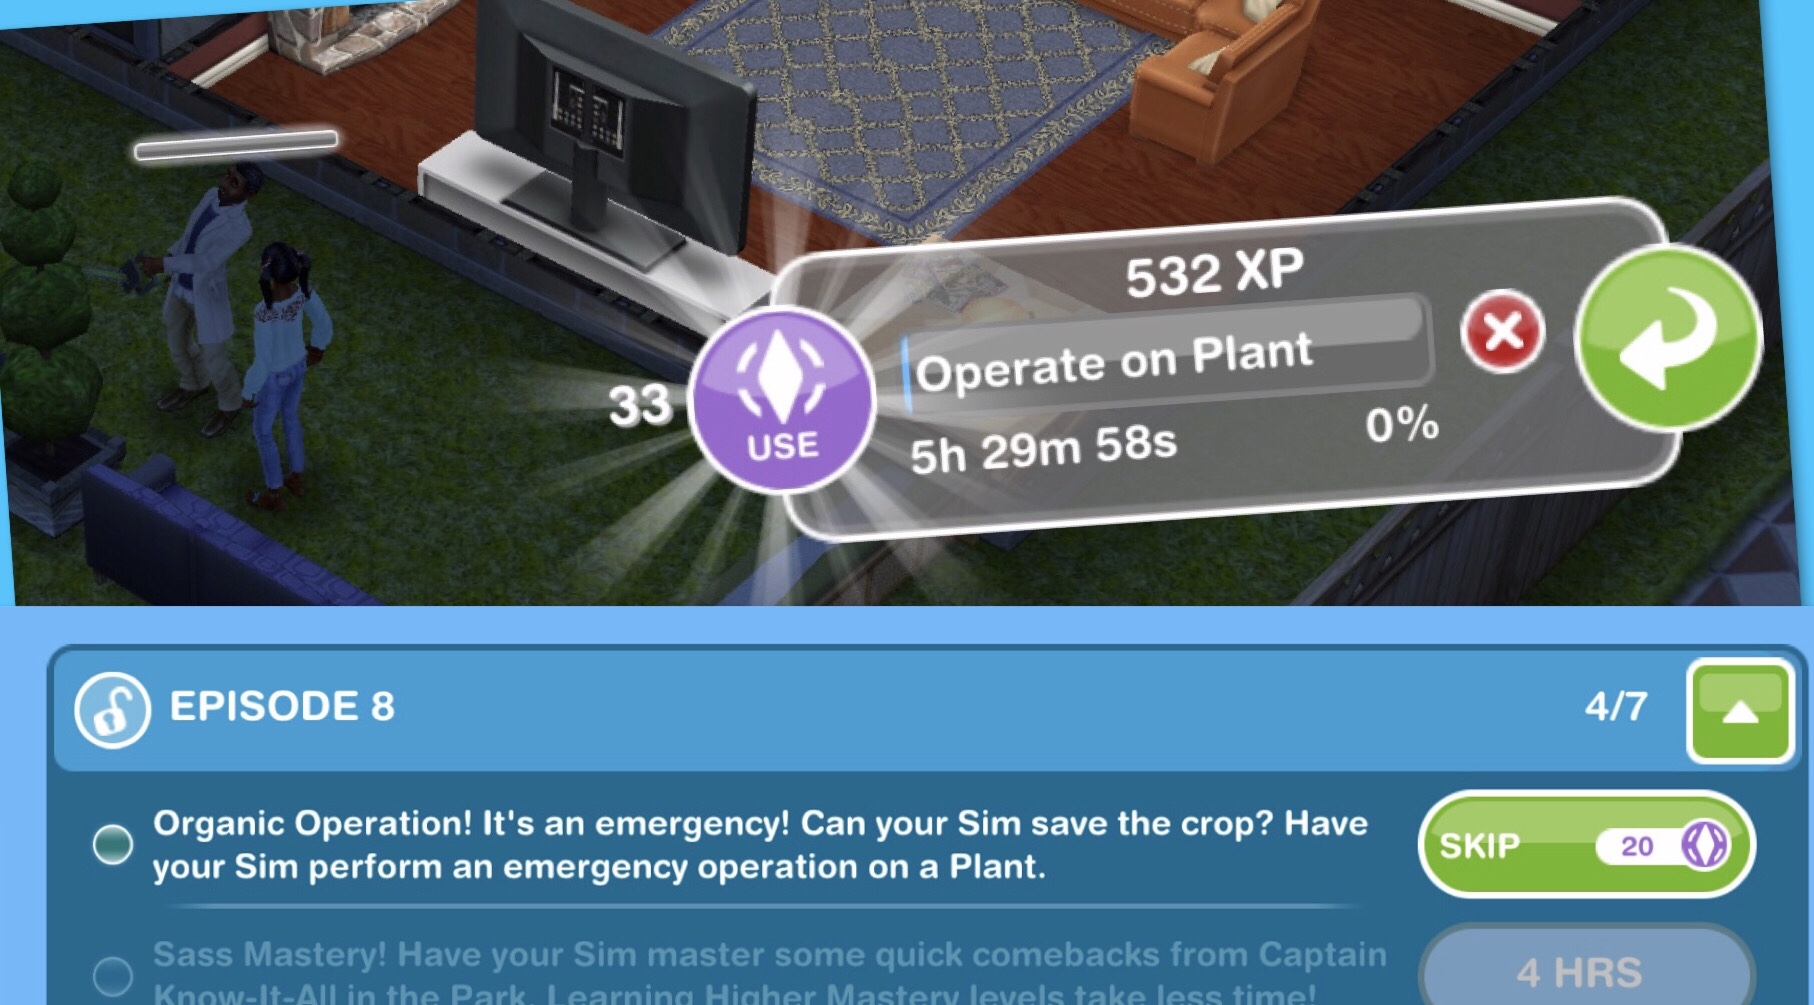
3:31am Operate on plant- 5 hours 30 minutes
9:02am Expert Sass (Mastery) (4hr cost S1,149,729 and 3hr 24min cost 38SP and 1hr cost 51SP)
I had to use social points to complete this before the rival won the episode, I would have been okay for time without the internet issue. Instead of starting this task I selected the skip episode option on the SimChase menu which cost 25SP
Episode 8 won (just about!) Episode 9 unlocks in 1 minute 32 seconds
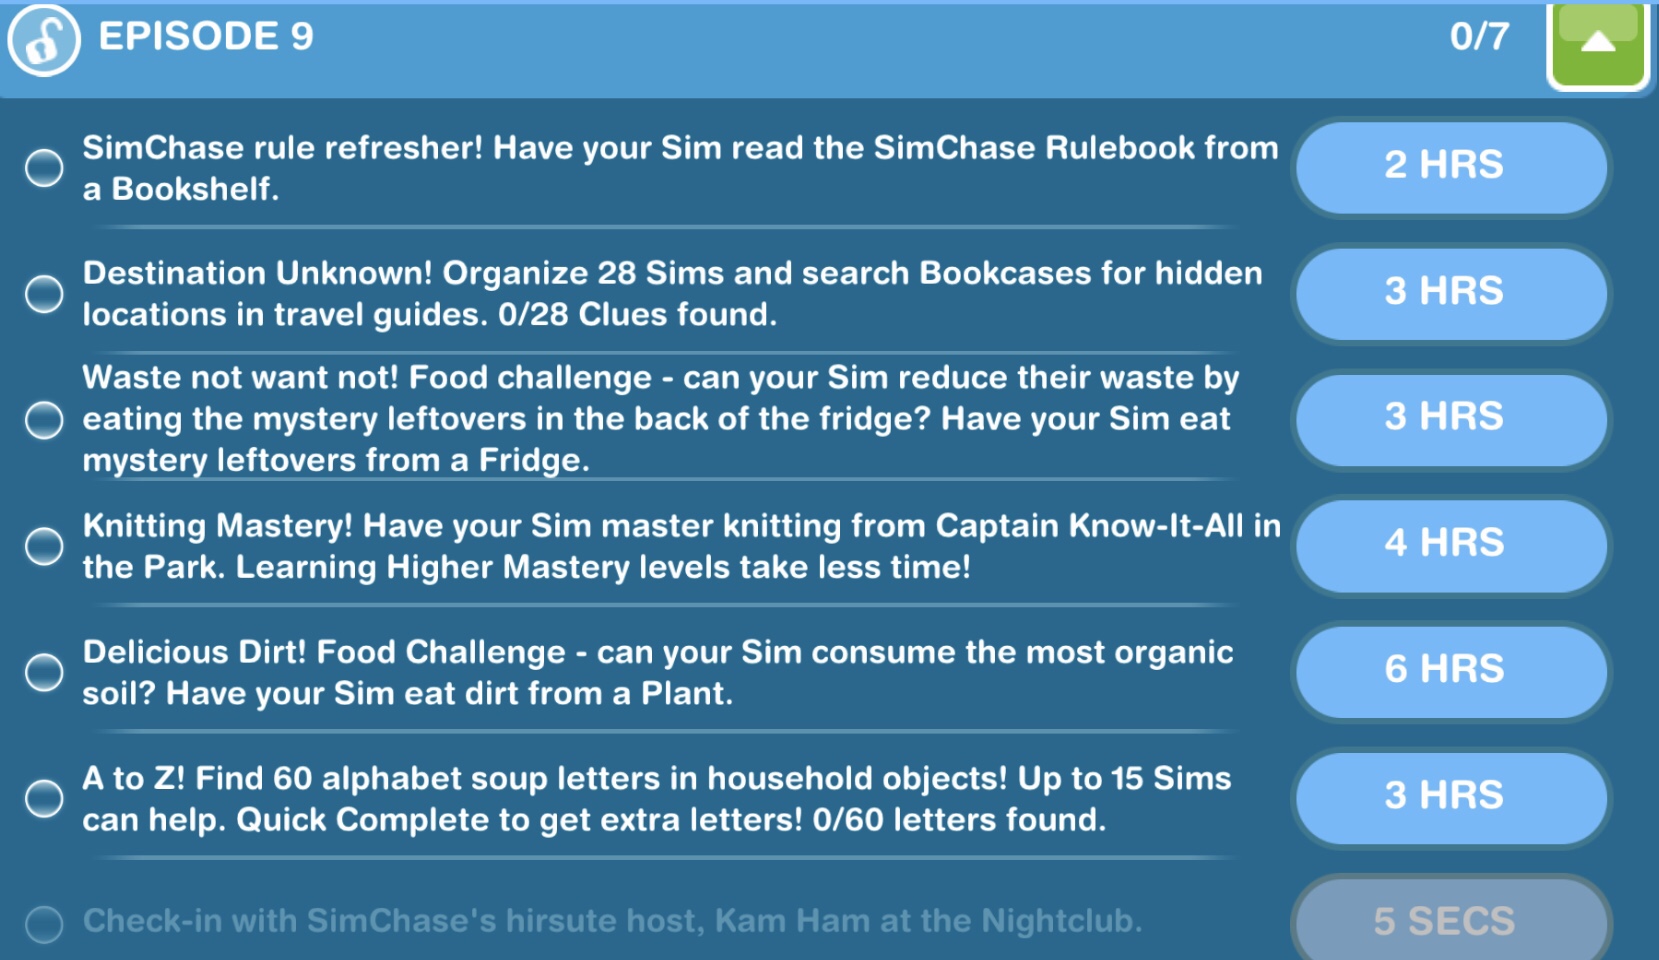
Episode 9- 9:07am
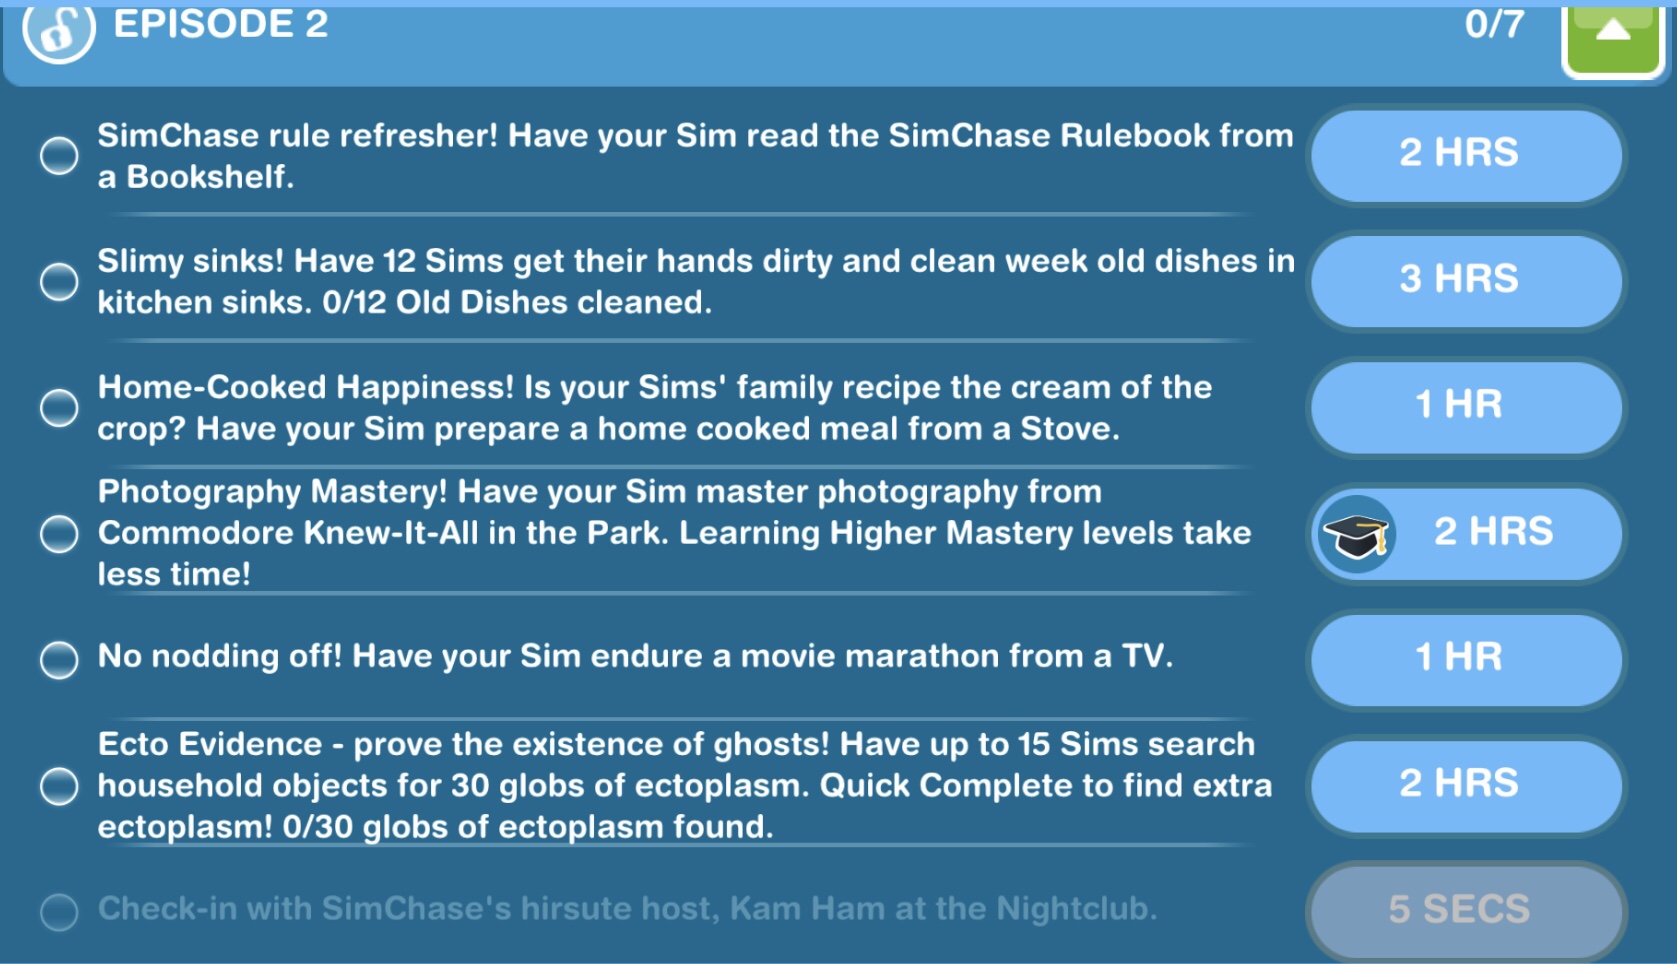
Search travel guides 28 times (28 sims)- 3 hours
Again I don’t have enough sims to complete this in one go
12:12pm Search travel guides 28 times (28 sims)- 3 hours
2 left to go (again one didn’t complete the first time)- waste of 3 hours!
I was worried that the rival was going to overtake me at this point so I opened the game at 7:30am every half an hour in case I needed to speed up the final task
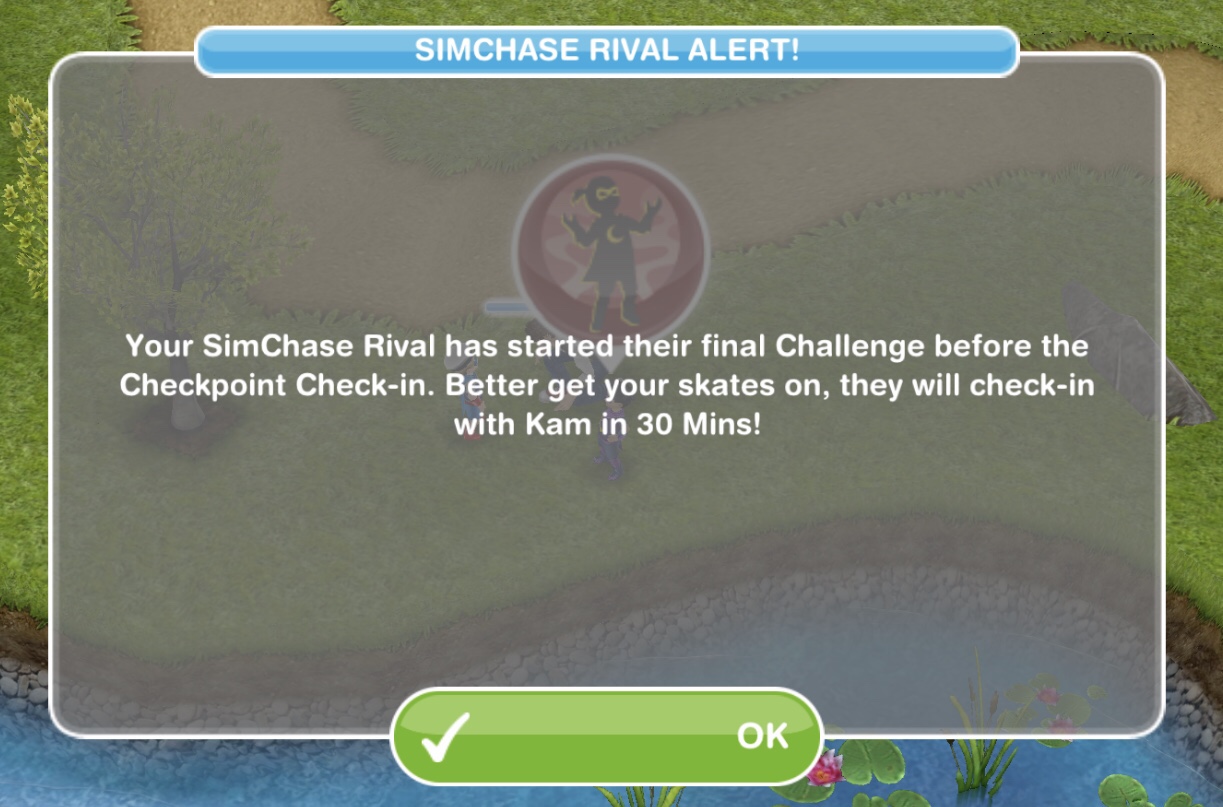
9:06am I was informed the rival would check in in 30 minutes. I had 20 minutes left so I knew I could make it
9:26am Check in- 4 seconds
Episode 9 won! I can sleep now!
It has been a very long 9 days, I don’t cope very well on lack of sleep so the experience has made me even more grumpy towards SimChase, yes it is possible to complete if every sim in your town is a teen, adult or senior, you don’t have anything else going on during the week and you don’t mind the middle of the night wake up calls but none of that equals fun. I really don’t know how some people manage to complete every SimChase, Pregnancy Event and Live Event using this method, I would make myself ill if I did, just 9 days of it makes me resent the game.
I honestly didn’t mind the first few days, I think in future I might try and get to at least episode 2 prizes if I think they are worth it but I really don’t see the point in putting in so much effort for spin tokens- winning episode 6 gave me 3,000 simoleons which is nothing compared to how much I have spent on mastery tasks.
I don’t like that apart from one notification to say the rival will check in in 30 minutes you don’t really know how they are doing, it isn’t like a pregnancy event where you just have to complete the tasks in a certain amount of time and you know if you are on track, with SimChase you don’t really know how long you have left and I found that very stressful. However I did only used 25 social points on this and that was only due to the internet issue which I was surprised about, although if I wanted to get a good night sleep I would have used a lot more social points.
What I have learned:
You don’t have to complete the final day within the time limit you just have to complete it before the rival, for example, I completed episode 9 at 9:26am when on previous days I started the next episode at 9:07am
You should be able to find all the items you need for the task that requires 15 sims max in one go, I was worried about that, especially with the last task but I managed to find all 60 alphabet soup letters with 15 sims
You are warned 30 minutes before your rival checks in for the final episode, I’m not sure if you are warned with the other episodes
Oh and I know that I don’t function well on little sleep!
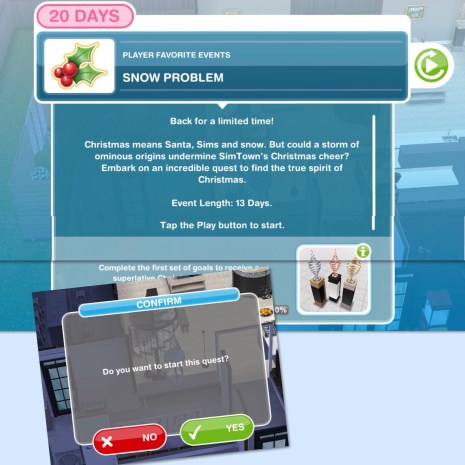
The Snow Problem Seasonal Quest is back for a limited time (from the 27th June- sorry for the late post!) complete this Player Favourite Event*in the 13 day time limit by completing a set of goals everyday to unlock the stunning Snow Chalet!
*What are Player Favourite Events?These are events or quests you opt in to complete for a second chance to complete them, you will be able to start these within an open period date if you haven’t completed it already. These are optional so you will need to click on the green play button next to the title of the event in the active tasks tab to start:
You have to wait between completing each set so you complete one set per day, after completing a set you have to wait for a certain amount of time before being able to continue with the quest unless you are behind.
If you completed this quest last time you won’t get it again, if you started it last time but didn’t finish it you will have to start it from the beginning this time. If you brought the snow chalet from the online store but haven’t completed the quest unfortunately you won’t be able to complete it this time.
Times may vary depending on the star rating an item has.
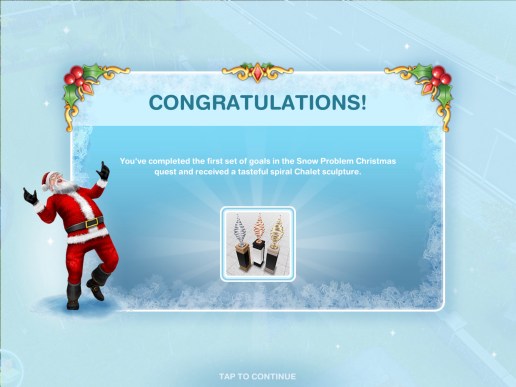
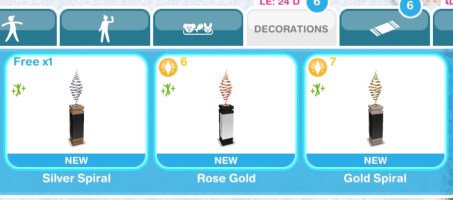
First set: Complete the first set of goals to unlock Spiral Sculptures (at the end of the post you can find all the information and pictures of all the prizes)
Place Christmas tree- you can find them in the featured section of the home store, the first one is free
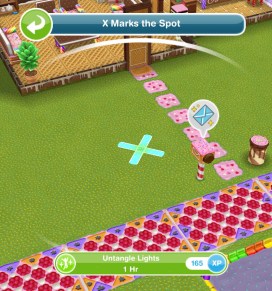
Untangle lights- 1 hour (click on x)
Write cards- 1 hour 40 minutes (click on a chair at a table)
Post cards- 4 hours (using the mailbox at the front of one of your sims houses, collect your daily reward first to get this option)
Place candle- you can find them in the featured section of the home store, the first one is free
Place five candy canes- you can find them in the featured section of the home store, the first five are free
Build snowman- 5 minutes (click on x)
Finish snowman- 2 hours
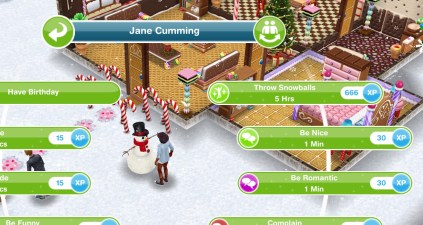
Throw snowballs- 5 hours (select the interaction between two sims)
Go to the park (send your sim to the park)
FIRST SET IS COMPLETE
Wait for day 2 (come back tomorrow for the next set of goals, you need to wait a certain amount of time to start the next set, the time depends on when you completed the first set) NOTE: you will not get this goal if you are behind in completing the goals, it will go straight to the next goal once you complete the first set)
Second set: Complete the second set of goals to unlock coffee tables and table decorations
Discuss weather- 15 minutes (click on the Meteorologist in the park)
Call Wizard Wickham- 40 minutes (using a phone)
Rebuild snowman- 1 hour (click on puddle)
Talk to snowman- 2 hours
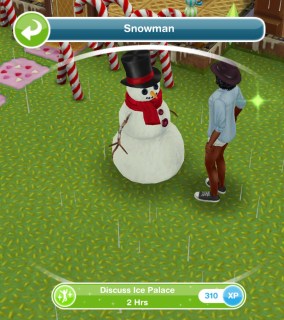
Discuss Ice Palace- 2 hours (snowman)
Watch impulse buy- 2 hours 20 minutes (using a tv)
Impulse buy- 5 hours (using a phone)
SECOND SET IS COMPLETE
Wait for day 3 (come back tomorrow for the next set of goals, you need to wait a certain amount of time to start the next set, the time depends on when you completed the second set) NOTE: you will not get this goal if you are behind in completing the goals, it will go straight to the next goal once you complete the second set)
Third set– Complete the third set of goals to unlock rectangular chalet windows
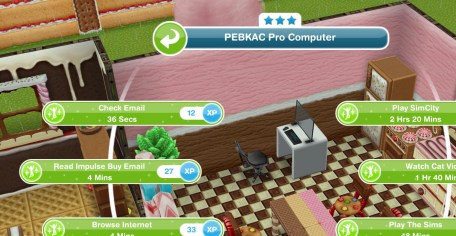
Read email- 4 minutes (using a computer)
Go to the park
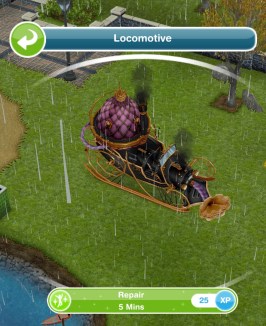
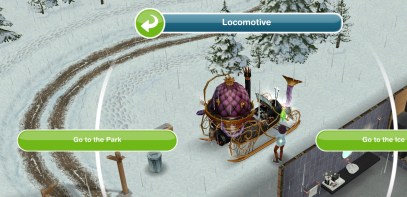
Inspect the bad luck locomotive- 1 hour (in the park)
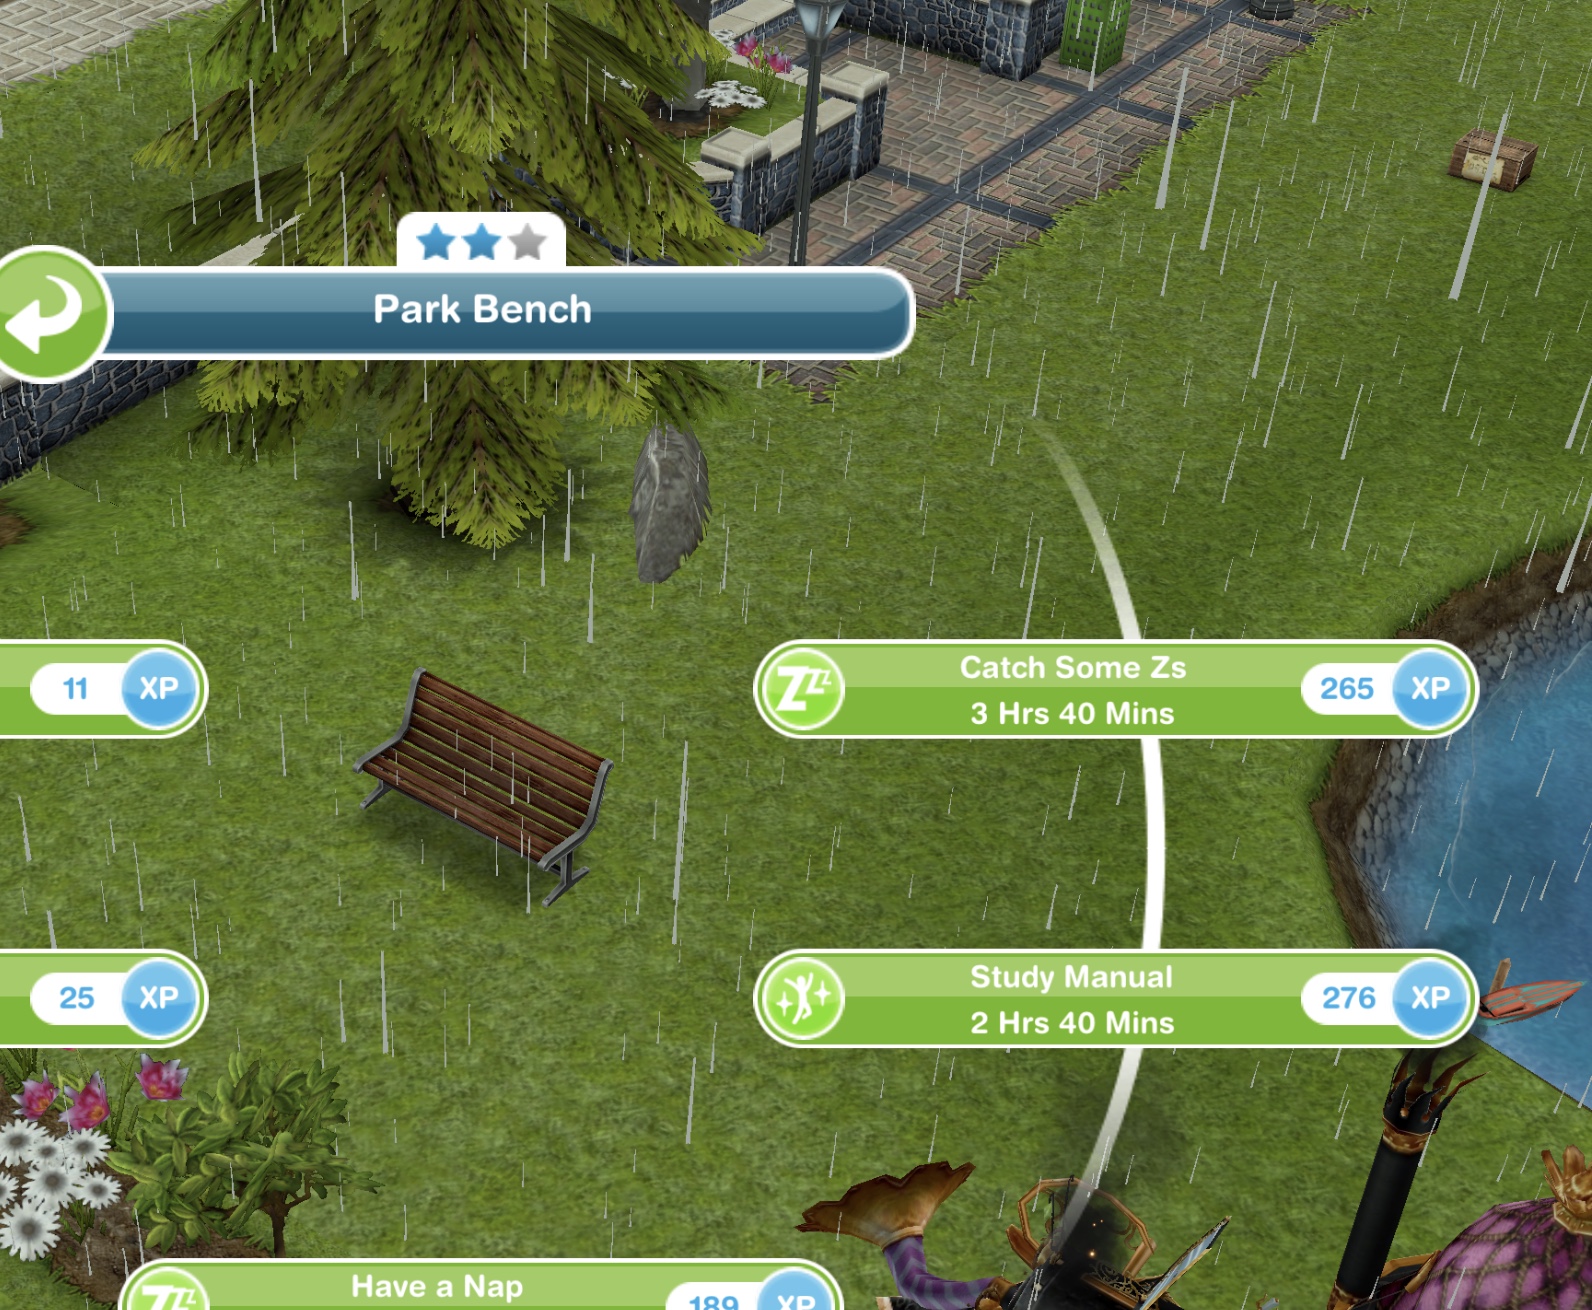
Study manual- 2 hours 40 minutes (on a park bench)
Repair the bad luck locomotive- 5 minutes
Check the manual- 1 hour 3 minutes (on a park bench)
Kick locomotive- 4 hours 40 minutes
Get coordinates- 6 hours (snowman)
Go to the park
THIRD SET IS COMPLETE
Wait for day 4 (come back tomorrow for the next set of goals, you need to wait a certain amount of time to start the next set, the time depends on when you completed the third set) NOTE: you will not get this goal if you are behind in completing the goals, it will go straight to the next goal once you complete the third set)
Fourth set: Complete the fourth set of goals to unlock shapely chalet windows
Travel to the ice palace (using the locomotive)
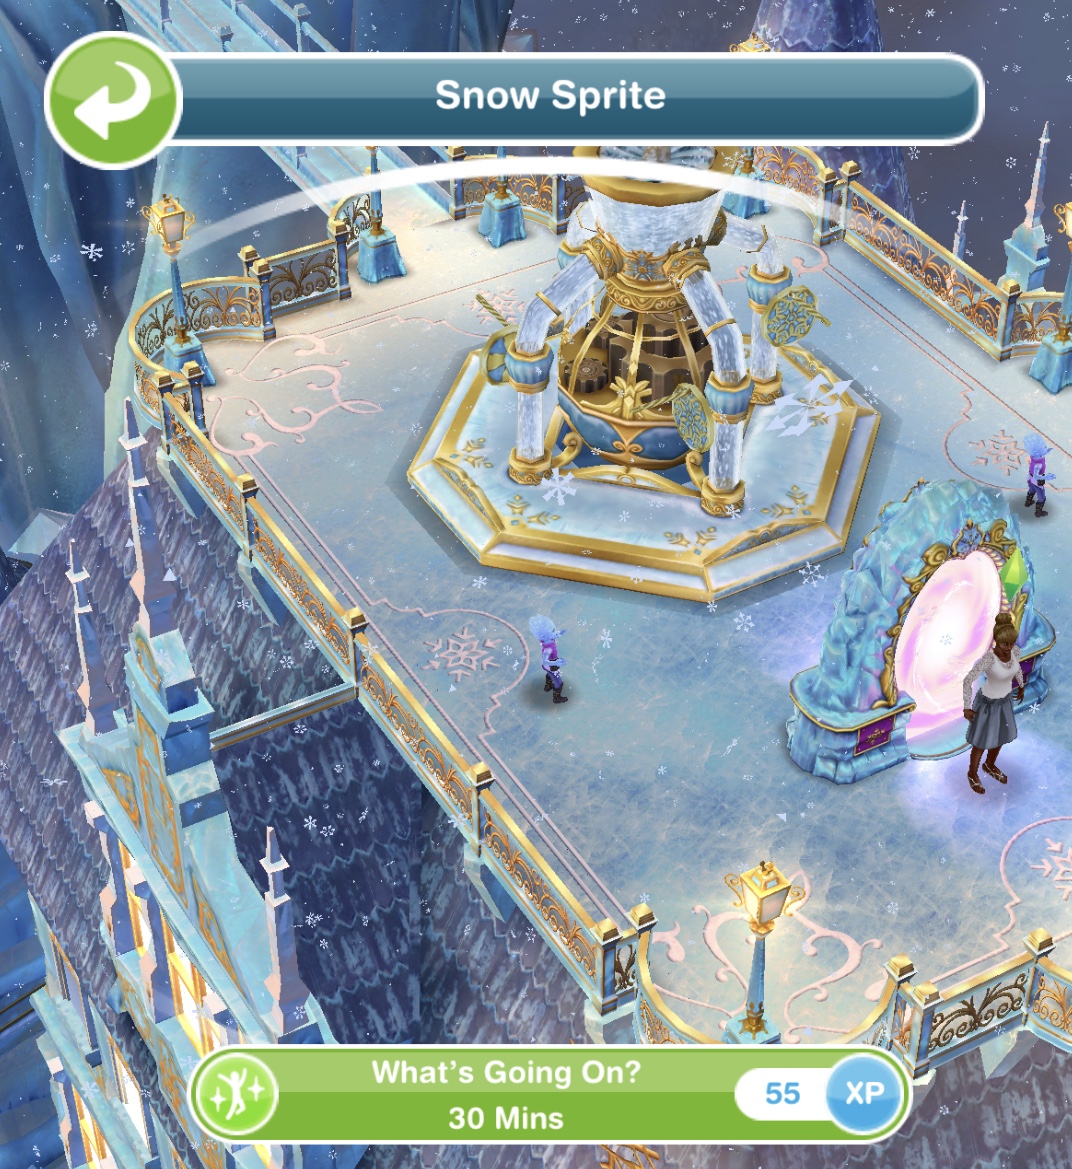
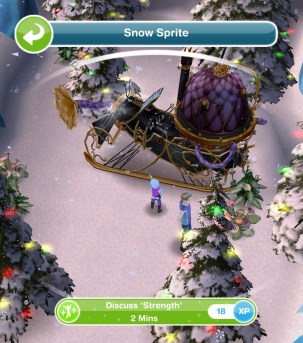
Whats going on?- 30 minutes (talk to a snow spirte)
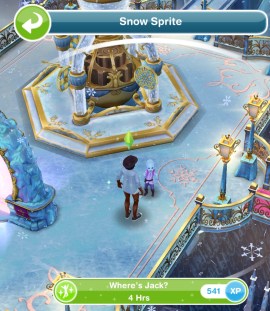
Where’s Jack Frost?- 4 hours (talk to a snow sprite)
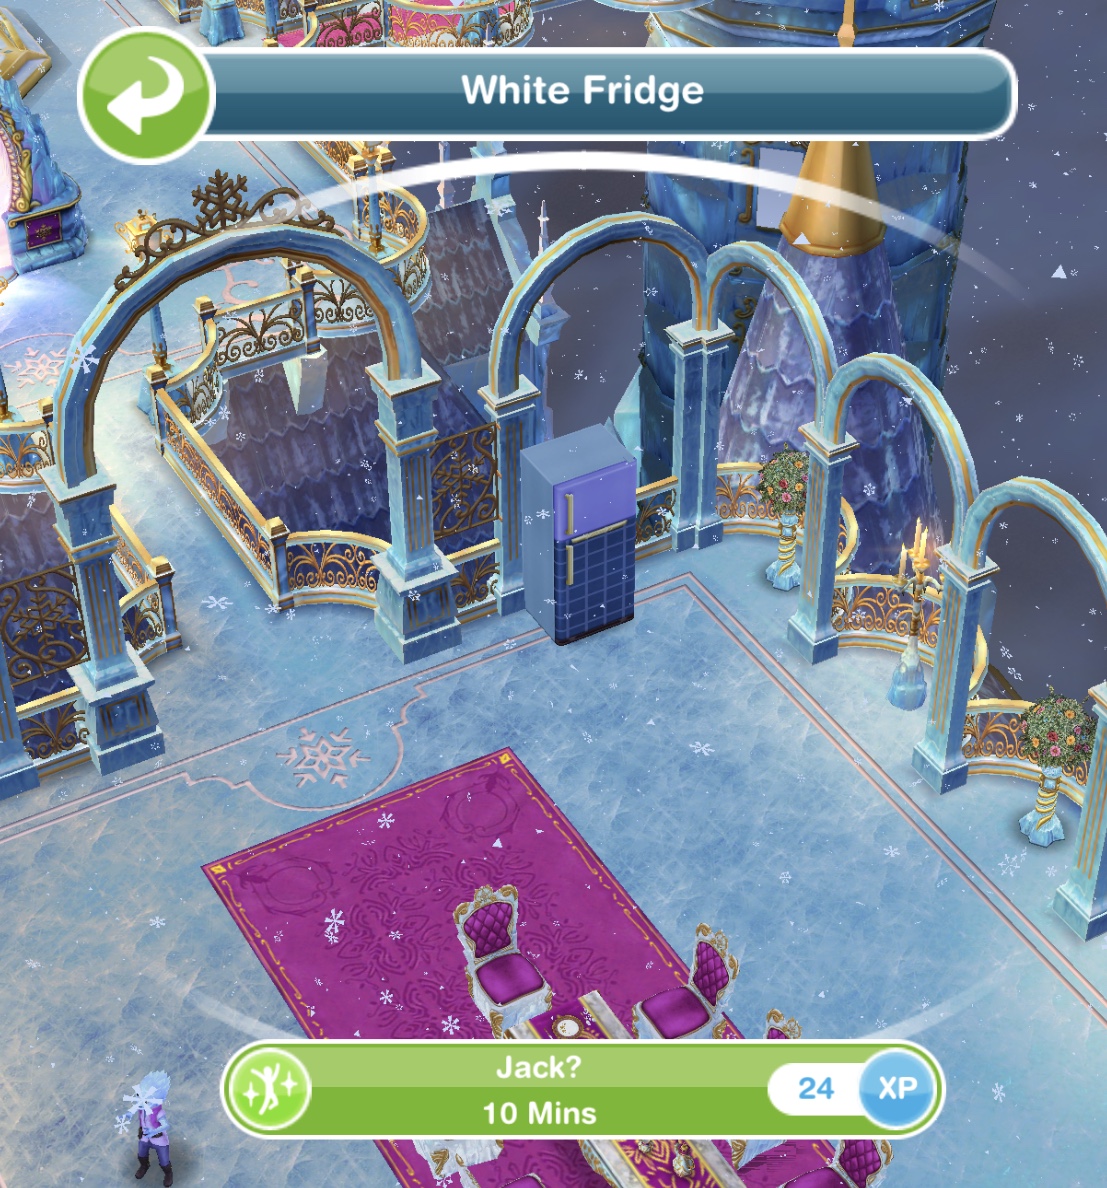
Find Jack Frost in a ‘cool’ disguise- Jack is in the Fridge at the Ice Palace- 10 minutes
Find Jack Frost in an ‘iron-ic board’ disguise- Jack is the Ironing Board at the Ice Palace- 5 minutes
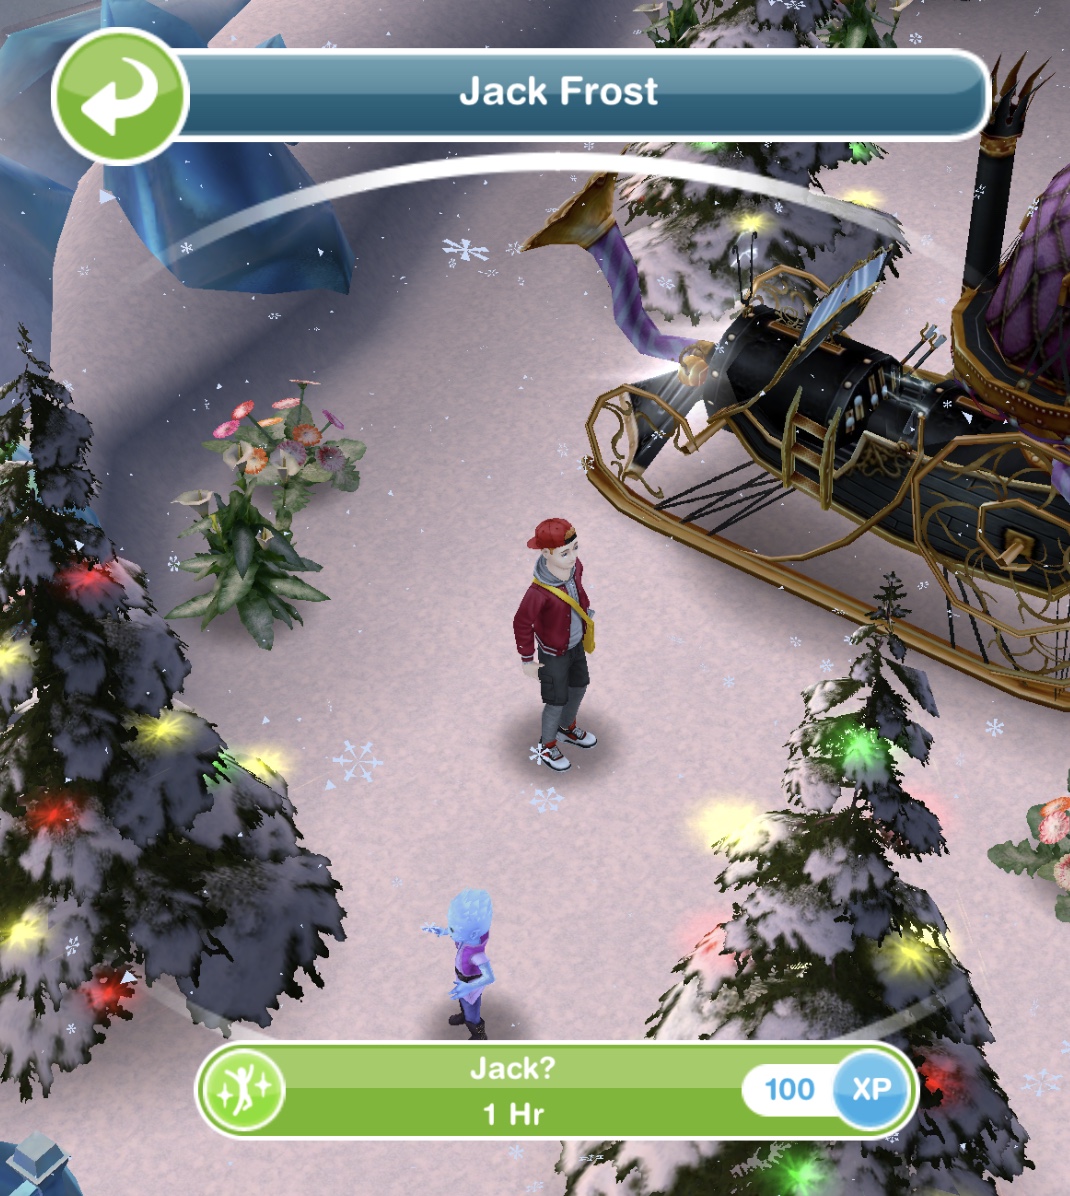
Find Jack Frost in his ‘newsworthy’ disguise- Jack is disguised at the Newspaper Boy at the Ice Palace- 1 hour
Ask Jack for his quarters’ key- 6 hours 20 minutes
FOURTH SET IS COMPLETE
Wait for day 5 (come back tomorrow for the next set of goals, you need to wait a certain amount of time to start the next set, the time depends on when you completed the fourth set) NOTE: you will not get this goal if you are behind in completing the goals, it will go straight to the next goal once you complete the fourth set)
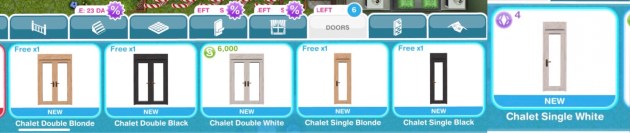
Fifth set: Complete the fifth set of goals to unlock chalet doors
Collect key- 10 minutes (click on the x)
Unlock door- 1 hour 40 minutes
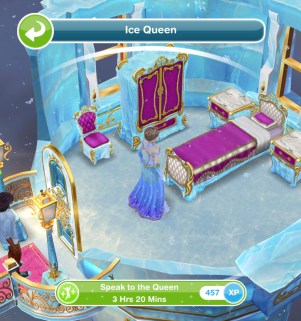
Speak to the Ice Queen- 3 hours 20 minutes
Offer beverage- 7 hours 30 minutes
Talk to ice spirte- 2 minutes
Discuss stopping the frostblaster- 1 second (you need 4 sims at the Ice Palace to do this, they all need to click turn together on the frostblaster)
Go to the park (locomotive)
FIFTH SET IS COMPLETE
Wait for day 6 (come back tomorrow for the next set of goals, you need to wait a certain amount of time to start the next set, the time depends on when you completed the fifth set) NOTE: you will not get this goal if you are behind in completing the goals, it will go straight to the next goal once you complete the fifth set)
Sixth set: Complete the sixth set of goals to unlock a chandelier and wallpaper
Discuss weather- 30 minutes (Wizard Wickham)
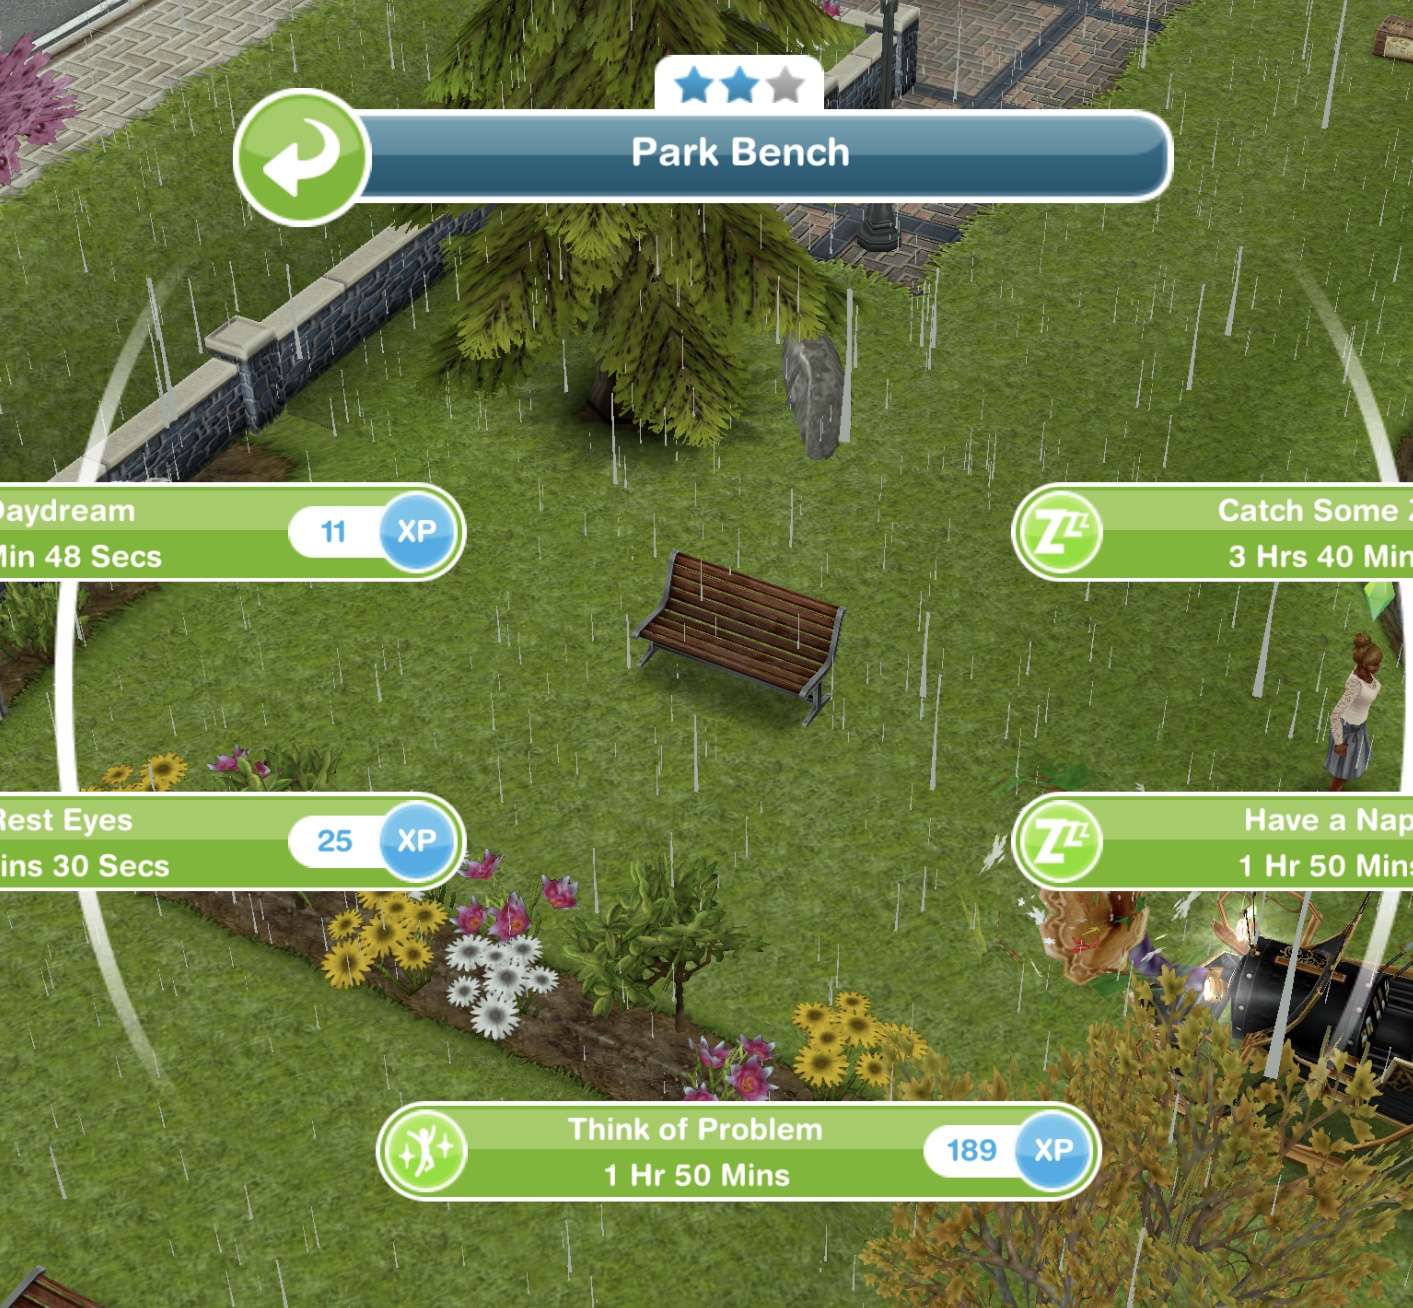
Think of a petty problem- 1 hours 50 minutes (on a park bench)
Argue with another sim- 2 hours 30 minutes (select the interaction between two sims)
Speak to Wizard Wickham- 11 hours
Go to the wacky weather source- 6 seconds (click on the locomotive)
SIXTH SET IS COMPLETE
Wait for day 7 (come back tomorrow for the next set of goals, you need to wait a certain amount of time to start the next set, the time depends on when you completed the sixth set) NOTE: you will not get this goal if you are behind in completing the goals, it will go straight to the next goal once you complete the sixth set)
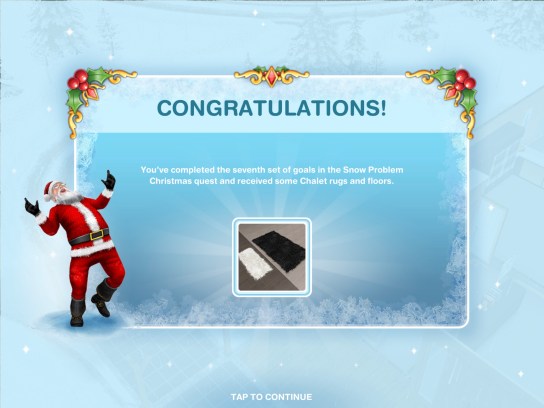
Seventh set: Complete the seventh set of goals to unlock rugs and flooring
Go to the wacky weather source (click on the locomotive again)
You will arrive at the stunning Snow Chalet- this is the prize you unlock if you complete this whole quest in the time limit, keep reading for pictures and a video tour of the chalet!
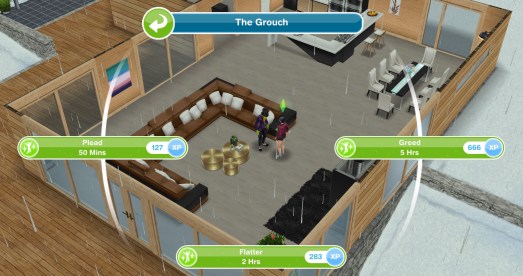
Confront owner- 1 minute (grouch)
Persuade Grouch- 50 minutes NOTE: you have to do all 3 options as none of them work with the Grouch, then you persuade him one last time so you will get the goal to Persuade Grouch 4 times
Persuade Grouch- 2 hours (select one of the other 2 options) GLITCH: the glitch should be fixed now, if you are still having issues or would like to ask for compensation due to you being unable to complete in the time limit please contact the makers
Persuade Grouch- 5 hours (select the last option)
Persuade Grouch- 12 hours 30 minutes (last time!)
Use locomotive- 1 second
SEVENTH SET IS COMPLETE
Wait for day 8 (come back tomorrow for the next set of goals, you need to wait a certain amount of time to start the next set, the time depends on when you completed the seventh set) NOTE: you will not get this goal if you are behind in completing the goals, it will go straight to the next goal once you complete the seventh set)
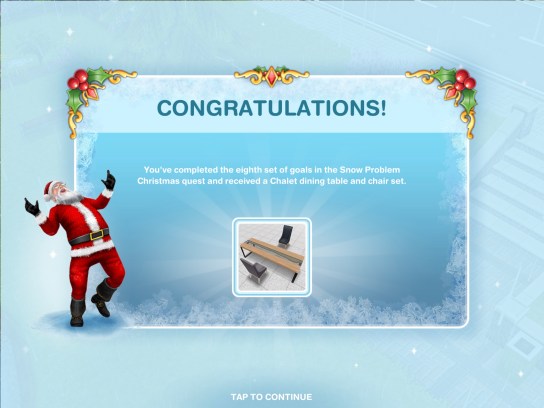
Eighth set: Complete the eighth set of goals to unlock dining tables and chairs
Go to a home lot (I used the locomotive to go to the park then from there I went to a home lot)
Find solution- 48 seconds (bench or couch)
Compose Ho-Ho-Hotline email- 2 hours
Read Ho-Ho-Hotline reply- 4 minutes
Speak to Mr Flurry- 30 minutes (the snowman)
Go to the park
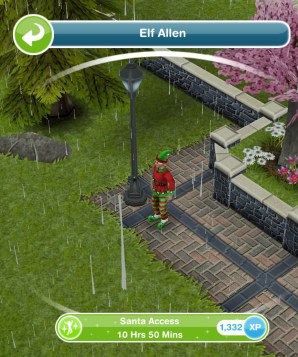
Santa Access- 10 hours 50 minutes (elf)
Ask about requirements- 1 second (elf)
EIGHTH SET IS COMPLETE
Wait for day 9 (come back tomorrow for the next set of goals, you need to wait a certain amount of time to start the next set, the time depends on when you completed the eighth set) NOTE: you will not get this goal if you are behind in completing the goals, it will go straight to the next goal once you complete the eighth set)
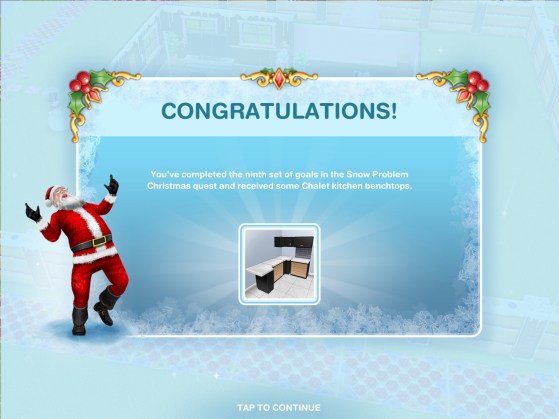
Ninth set: Complete the ninth set of goals to unlock a kitchen benchtop set
Go to a home lot
Book holiday- 4 minutes (using a computer)
Give reference- 3 hours (elf in park)
Go to a home lot
Write email to Santa- 12 minutes (computer)
Send email to Santa- 4 hours
Speak to visitor- 12 hours 30 minutes (elf)
NINTH SET IS COMPLETE
Wait for day 10 (come back tomorrow for the next set of goals, you need to wait a certain amount of time to start the next set, the time depends on when you completed the ninth set) NOTE: you will not get this goal if you are behind in completing the goals, it will go straight to the next goal once you complete the ninth set)
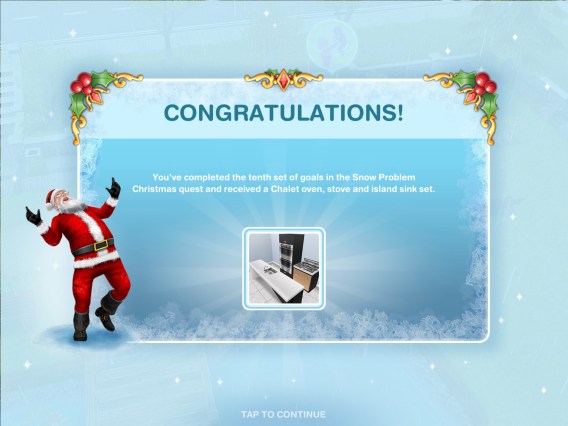
Tenth set: Complete the tenth set of goals to unlock an oven, stove and sink
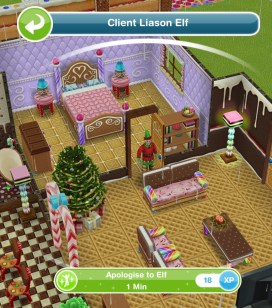
Apologise to Elf- 1 minute
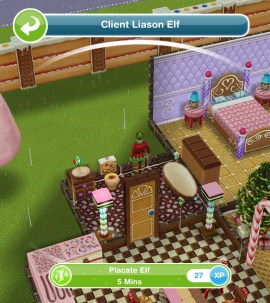
Placate Elf- 5 minutes
Go to the park
Speak to Wizard Wickham- 12 hours 30 minutes
Return to home lot
Place lamp- you can buy any lamp from the lighting section of the home store to complete this
Grow carrots- 5 minutes (using a garden patch)
Feed Prancer- 5 minutes
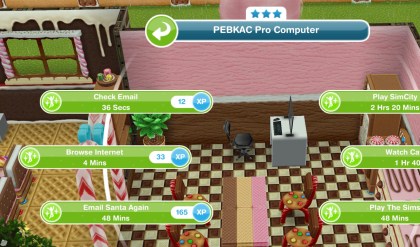
Email Santa again- 48 minutes
Speak to Elf- 8 hours 40 minutes
Check the locomotive in the park- 1 second
TENTH SET IS COMPLETE
Wait for day 11 (come back tomorrow for the next set of goals, you need to wait a certain amount of time to start the next set, the time depends on when you completed the tenth set) NOTE: you will not get this goal if you are behind in completing the goals, it will go straight to the next goal once you complete the tenth set)
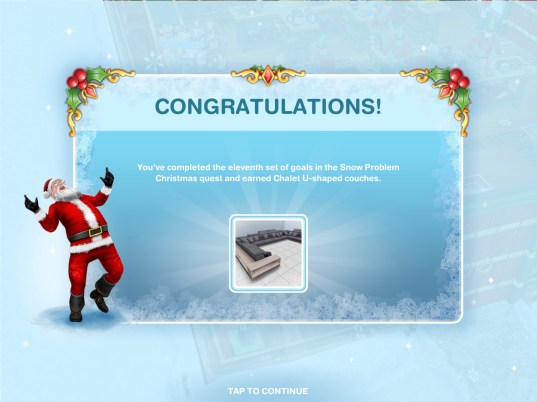
Eleventh set: Complete the eleventh set to unlock huge U-shaped couches
Go to Santa’s workshop (using the locomotive)
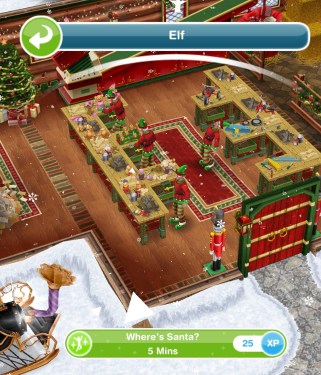
Speak to an Elf about Santa’s whereabouts- 5 minutes
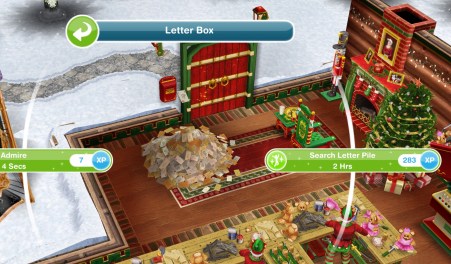
Search letter pile- 2 hours
Search sack- 5 minutes
Search chimney- 6 hours 30 minutes
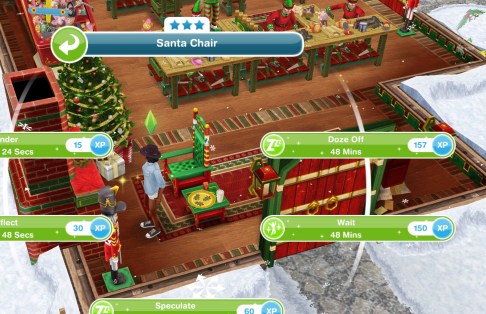
Wait for Santa- 48 minutes (click on Santa’s chair)
Explain the Grouch’s gripe- 11 hours 15 minutes (with Santa)
ELEVENTH SET IS COMPLETE
Wait for day 12 (come back tomorrow for the next set of goals, you need to wait a certain amount of time to start the next set, the time depends on when you completed the eleventh set) NOTE: you will not get this goal if you are behind in completing the goals, it will go straight to the next goal once you complete the eleventh set)
Twelfth set: Complete the twelfth set to unlock king size beds, bedside tables and lamps
Discuss the Grouch’s plan- 1 minute (click on Elf and select discuss jobs)
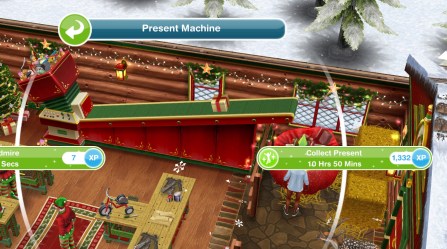
Repair present machine- 5 minutes
Discuss jobs- 2 hours (Elf)
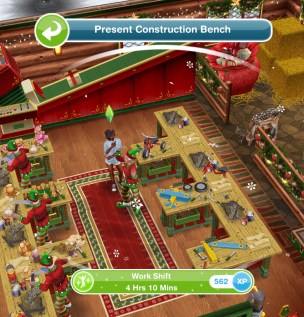
Work shift- 4 hours 10 minutes (present construction bench)
Discuss jobs- 5 minutes
Discuss Grouch- 20 minutes (Santa)
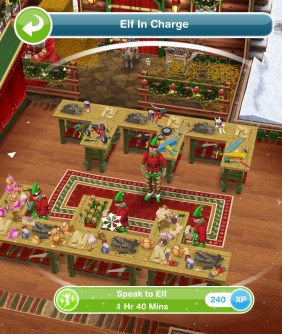
Speak to Elf- 1 hour 40 minutes
Collect present- 5 minutes
Collect present- 10 hours 50 minutes
Have all sims leave Santa’s workshop (use the locomotive to leave)
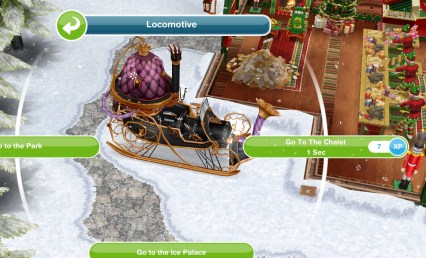
Go to the chalet- 1 second (locomotive in park)
TWELFTH SET IS COMPLETE
Wait for day 13 (come back tomorrow for the final set of goals, you need to wait a certain amount of time to start the last set, the time depends on when you completed the twelfth set) NOTE: you will not get this goal if you are behind in completing the goals, it will go straight to the next goal once you complete the twelfth set)
Thirteenth set: Complete the final set to unlock the Snow Chalet and other items!
Go to the chalet (locomotive in park)
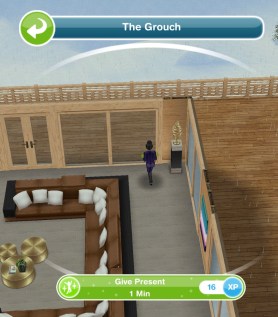
Give present- 1 minute (Grouch)
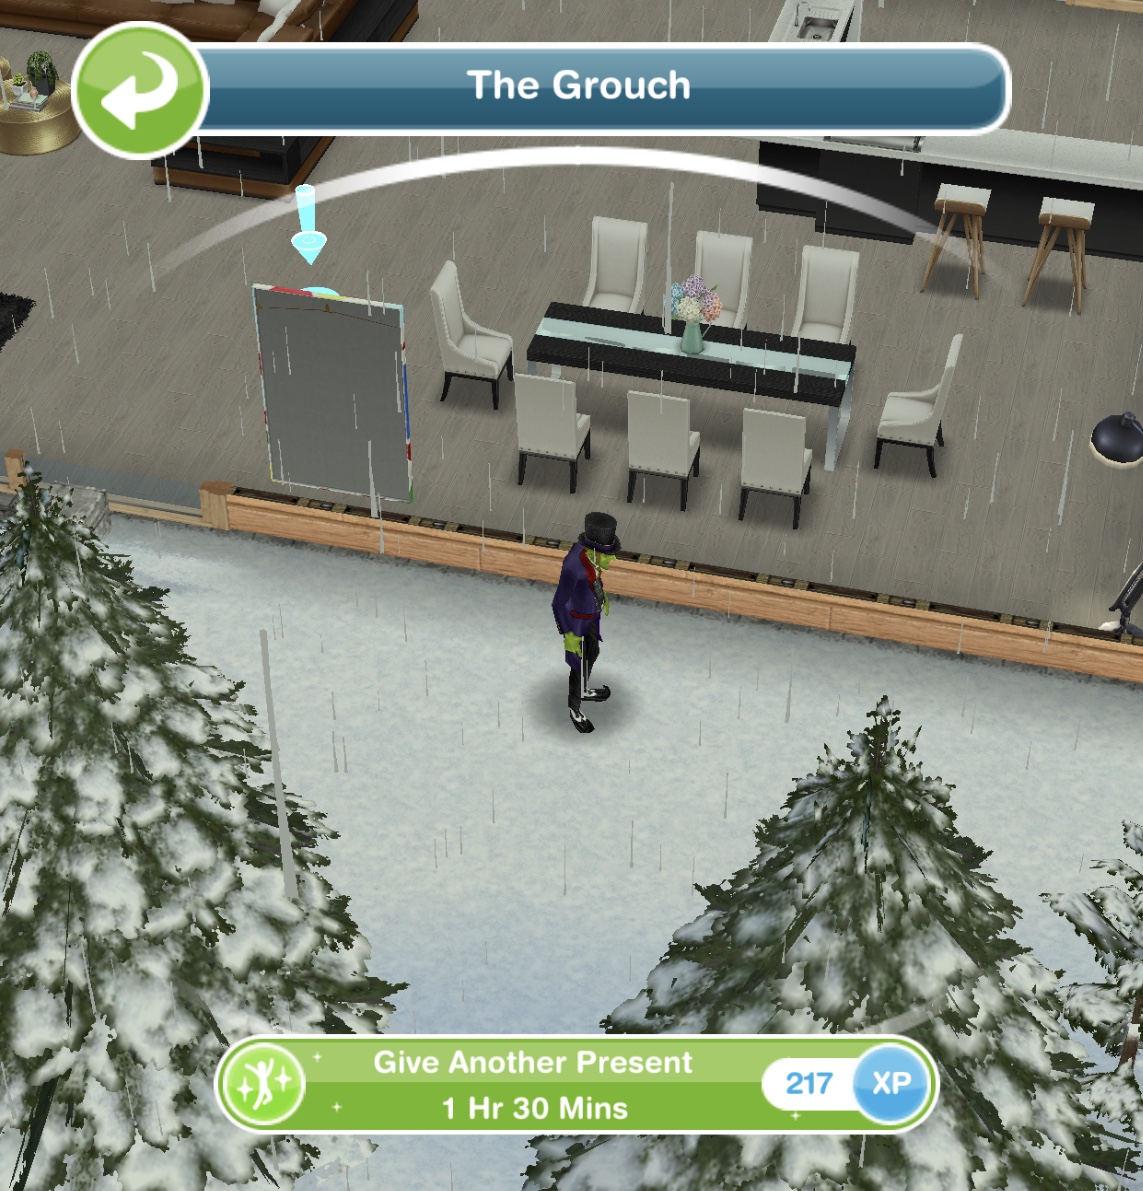
Give another present- 1 hour 30 minutes
Hug Grouch- 6 hours 40 minutes
Speak to Grouch- 14 hours 10 minutes
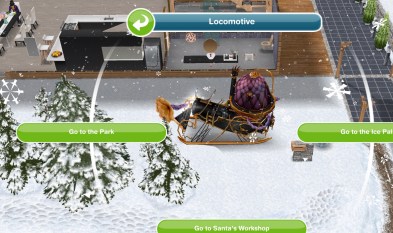
Leave chalet (on the locomotive select go to the park or use the simtracker to go home)
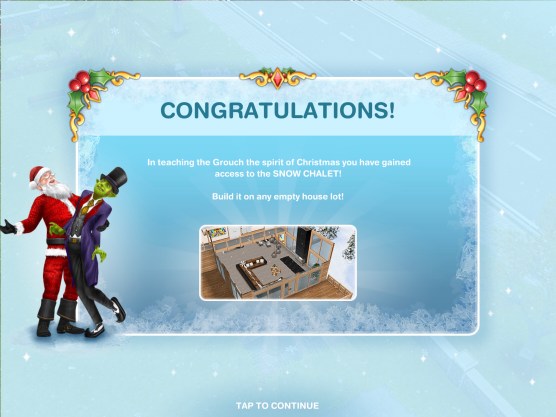
QUEST IS COMPLETE!
If you completed this quest in the time limit you will be able to build the Snow Chalet in your Simtown, keep reading for information and pictures of all the prizes you unlock in this quest
You cannot complete this quest or earn the prizes once the quest is over
Watch my step by step video of this quest here:
Prizes:
First Set: Spiral Sculptures
Can be found in the decorations section of the home store, first silver spiral is free then it costs 5LPs, rose gold costs 6LPs and gold costs 7LPs
Second Set: Chalet Coffee Tables and Table Decorations
The coffee tables can be found in the living room section, the first silver one is free then it costs S15,000, the bronze one costs S15,500 and the gold one costs S16,000
The table decorations can be found in the decoration section, the first fruit decoration is free then it costs S20,000, the black and white decoration costs S21,000 and the plant decoration costs S22,000
Chalet Single Blonde- first one free, after that they cost 6SPs Chalet Double Blonde– first one free, after that they cost 7SPs Chalet Triple Blonde– first one free, after that they cost 7SPs
Chalet Single Black- first one free, after that they cost 7SPs Chalet Double Black- first one free, after that they cost 8SPs Chalet Triple Black- first one free, after that they cost 8SPs
The Chandeliers can be found in the lighting section, the first silver one is free after that it costs S19,000, the gold chandelier costs S19,500 and the black chandelier costs S20,000
The walls can be found in the walls section, the first one of each is free, after that Chalet Blonde costs S100, Chalet Wood costs S100 and Chalet Grey costs S100
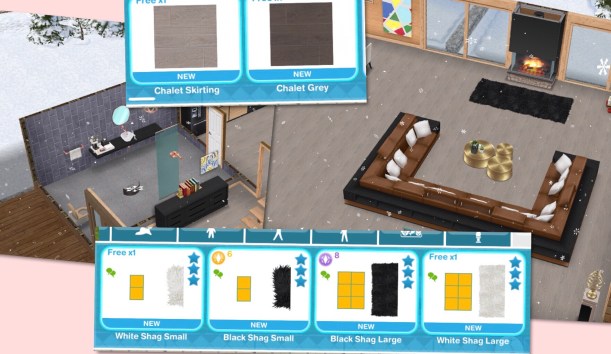
The rugs can be found in the rugs section, you unlock the small and large black and white shag rugs, the first small and large white shag rugs are free, after that the small ones cost 6LPs and the large ones cost 8SPs
The flooring can be found in the floors section, the first one of each is free, then the Chalet Skirting costs S2,000 and the Chalet Grey costs S150
These can be found in the dining room section, the first chalet blonde table is free after that it costs S15,000, the chalet black costs S15,500 and the chalet white costs S16,000. The first four chalet black chairs are free, after that they cost S8,000, the chalet grey chairs cost S8,500 and the chalet white cost S9,000
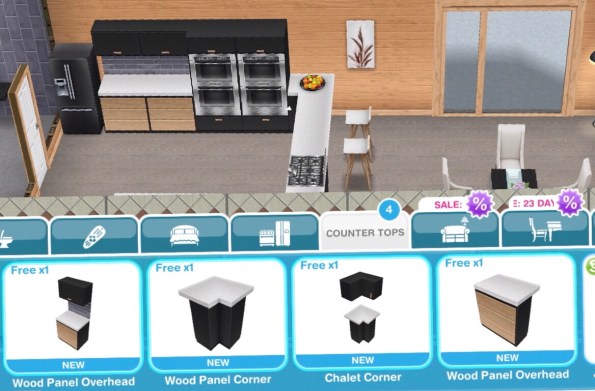
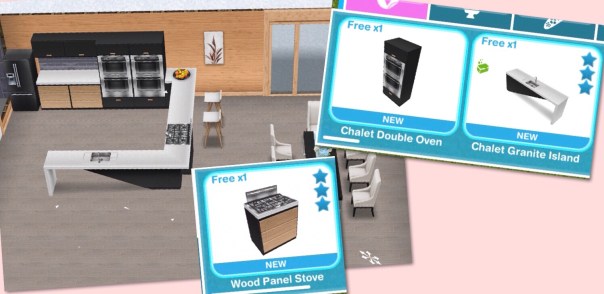
These can be found in the countertops section, the first one of each are free after that the wood panel overhead costs S25,000, the wood panel corner costs 4LP, the chalet corner costs 6LP and the wood panel costs 12SP
The wood panel stove can be found in the kitchen section, the first one is free then they cost 10SP
The chalet double oven and chalet granite island can be found in the countertops section (the oven can also be found in the kitchen section) the first of each is free then the oven costs 40SP and the island/sink costs S65,000
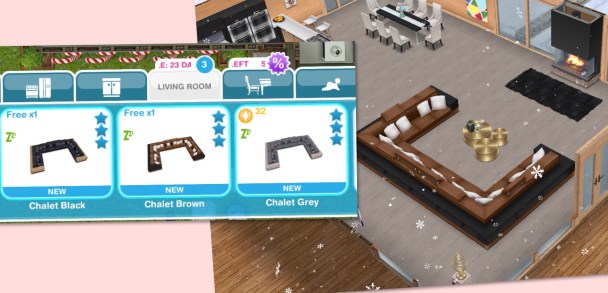
These can be found in the living room section, the first chalet black and brown ones are free, after that the black one costs 30LP, the brown one costs 31LP and the grey one costs 32LP
Twelfth Set: King Size Beds, Bedside Tables and Lamps
The beds and bedside tables can be found in the bedroom section, the first king blue and king pale pink beds are free after that the king blue costs 40SP, the king pale pink costs 41SP and the king white costs 42SP. The first chrome and rose gold bedside tables are free, after that the bedside chrome costs 24SP, the bedside rose gold costs 25SP and the bedside black costs 26SP
The hanging lamps can be found in the lighting section, the first black one is free, after that the black and white ones both cost 15SP
You will be able to build the Snow Chalet on a premium or standard residence, the first one is free, after that the cost in simoleons depends on how many houses you have already built
Watch my house tour of the Snow Chalet here:
You can also find another new floor, Chalet White Carpet which costs S300, four new doors, two are door frames which cost S500 and S700, the other two are deep wood doors there is a single and double and they both cost S2,500
In the bedroom section you will find 3 new sidetables, black, white costing 1LP and the blonde sidetable costing 2LP and in the rugs section you will find two more shag rugs in white and black, these ones are extra large and cost 9LP each